
Is your Toyota Prius headlight flickering or completely out? Driving with a broken headlight isn’t just unsafe—it can also lead to tickets.
But don’t worry, replacing your Prius headlight bulb is easier than you think. In this guide, you’ll learn simple, step-by-step instructions to fix it yourself quickly and save money. Keep reading, and by the end, you’ll have your headlights shining bright again without any hassle.
Tools You’ll Need
Replacing a headlight bulb on a Toyota Prius is easier with the right tools. Having everything ready saves time and avoids frustration. This guide lists the tools needed for a smooth bulb replacement.
Bulb Type For Toyota Prius
The Toyota Prius uses specific bulb types for headlights. Most models require H11 bulbs for low beams. High beams usually use 9005 bulbs. Check your car manual or existing bulb to confirm the type. Using the correct bulb ensures proper fit and brightness.
Essential Tools Checklist
Prepare these tools before starting the replacement:
- Screwdriver (flathead or Phillips)
- Socket wrench set
- Gloves to protect your hands and bulb
- Clean cloth to handle the bulb
- New headlight bulb compatible with Prius
These tools allow safe and easy access to the headlight assembly. Gloves prevent oils from your skin damaging the bulb. A clean cloth helps keep the bulb spotless during installation.
Credit: www.yourmechanic.com
Preparing Your Prius
Preparing your Toyota Prius for a headlight bulb replacement is simple. It helps make the job safer and easier. This part guides you through the basic steps before you start.
Taking the right precautions and knowing how to access the headlight area will save time. It also protects your car and yourself from harm.
Safety Precautions
Turn off your Prius and remove the key from the ignition. This stops any electrical flow. Allow the headlights to cool down before touching them. Hot bulbs can burn your fingers. Wear gloves to keep oils from your skin off the new bulb. Dirt and oil can cause the bulb to fail early. Work in a well-lit area to see clearly. Keep tools and parts organized to avoid losing anything.
Accessing The Headlight Area
Open the hood of your Prius carefully and secure it with the prop rod. Locate the back of the headlight assembly. It is usually near the front corners under the hood. Remove any covers or caps blocking access to the bulb. Some models may require removing screws or clips. Check your owner’s manual for specific instructions. Clear any debris or dirt around the area to prevent it from falling inside. Make sure you have enough space to reach the bulb comfortably.
Read More: Prius Led Vs Halogen Headlights
Removing The Old Bulb
Removing the old headlight bulb from a Toyota Prius is the first step in the replacement process. It requires careful handling to avoid damage. Follow the steps below to make the task easier and safer.
Locating The Bulb Socket
Open the hood of your Prius. Look behind the headlight assembly. Find a round plastic cover or cap. This cover protects the bulb socket. Twist or pull the cover off gently. Now, you see the bulb socket where the bulb is fixed.
Detaching The Bulb
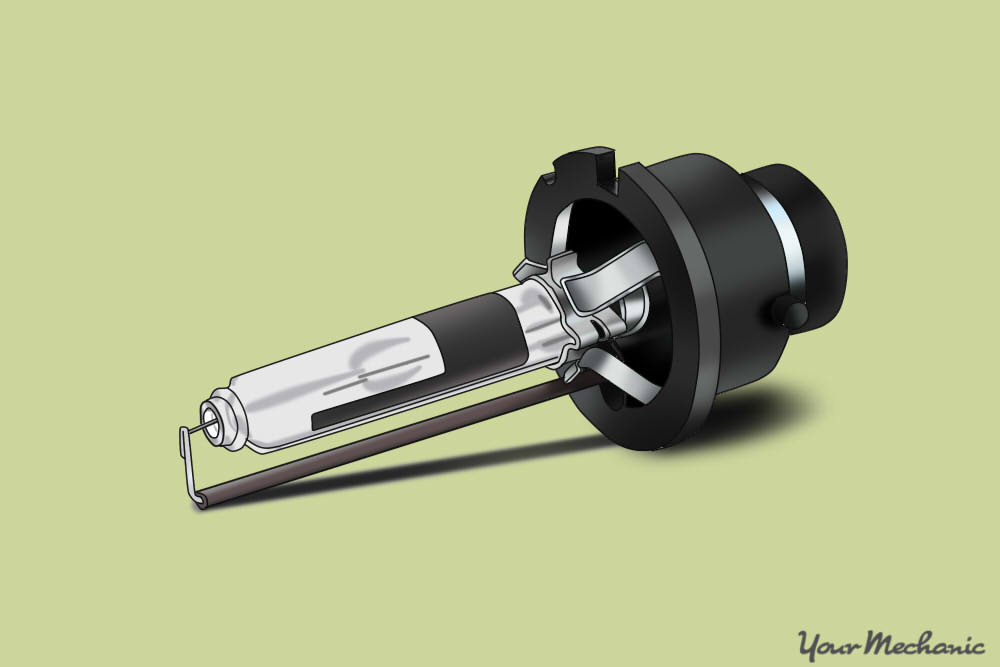
Grasp the base of the bulb socket firmly. Turn it counterclockwise to unlock it. Pull the socket straight out with care. Avoid touching the glass part of the bulb. Disconnect the wiring harness by pressing the clip. The old bulb is now free and ready to be removed.

Credit: www.yourmechanic.com
Installing The New Bulb
Installing the new bulb is a key step to restore your Toyota Prius headlight. Handle the bulb carefully to avoid damage. Proper installation ensures the light works well and lasts long.
Handling The New Bulb
Hold the new bulb by its base, not the glass. Oils from your fingers can cause the bulb to burn out quickly. Use clean gloves or a cloth to keep the bulb clean. Avoid touching the glass part at all times.
Securing The Bulb In Place
Place the bulb into the headlight socket gently. Align it properly to fit without forcing. Turn or clip the bulb until it locks securely. Double-check the bulb is tight and does not move. This keeps the bulb stable and prevents electrical issues.
Testing The Headlight
Testing the headlight is an important step after replacing the bulb. It confirms the new bulb works properly. This step helps avoid driving with a broken headlight. It also ensures your safety on the road at night or in bad weather.
Checking Bulb Functionality
Turn on your Toyota Prius headlights. Look at the replaced bulb closely. It should light up brightly and steadily. Flickering or dim light means the bulb may be faulty or not installed correctly. Check the bulb socket for a secure fit. Also, check the fuse if the bulb does not light at all.
Adjusting If Needed
The new bulb may need slight adjustment. Make sure the headlight beam points straight ahead. Aim the light slightly down to avoid blinding other drivers. Use the adjustment screws on the headlight housing. Small turns can change the light direction. Test the beam again after each adjustment.
Tips For Longevity
Replacing a Toyota Prius headlight bulb is only part of the job. Taking care of the bulb helps it last longer. Small efforts can prevent frequent changes and save money. Follow simple steps to keep your headlights bright and clear for a long time.
Cleaning And Maintenance
Keep the headlight lens clean. Dirt and grime reduce light brightness. Use a soft cloth and mild soap to clean the lens. Avoid harsh chemicals that can damage the surface. Check the headlights regularly for cracks or moisture inside. Moisture can shorten bulb life. Replace seals if needed to keep water out.
Avoiding Common Mistakes
Do not touch the new bulb glass with bare hands. Oils from skin create hot spots that burn the bulb faster. Use gloves or a cloth to handle bulbs. Make sure the bulb is the correct type for your Prius. Installing the wrong bulb can cause poor fit or damage. Tighten the bulb holder firmly but avoid over-tightening. Loose bulbs flicker; too tight can break parts.
Frequently Asked Questions
How Do I Replace A Toyota Prius Headlight Bulb?
To replace a Prius headlight bulb, open the hood and locate the bulb holder. Twist and remove the old bulb, then insert the new one carefully. Reconnect any wiring and test the light before closing the hood.
What Type Of Bulb Fits A Toyota Prius Headlight?
Toyota Prius models typically use an H11 or 9005 halogen bulb for headlights. Always check your owner’s manual to confirm the correct bulb type before purchasing or replacing.
How Long Does A Toyota Prius Headlight Bulb Last?
A standard Prius headlight bulb lasts about 450 to 1,000 hours. Lifespan varies with usage and driving conditions. Regular checks can help avoid unexpected failures.
Can I Replace A Toyota Prius Headlight Bulb Myself?
Yes, replacing a Prius headlight bulb is simple and can be done with basic tools. Follow safety steps, consult the manual, and replace the bulb carefully to avoid damage.
Bottom Line
Replacing a Toyota Prius headlight bulb is simple and quick. You only need basic tools and a little patience. Follow the steps carefully to avoid mistakes. Bright headlights keep you safe while driving at night. Regular checks help spot problems early.
Now, you can handle this task without calling a mechanic. Save time and money by doing it yourself. Keep your Prius headlights shining bright on every trip.

Hello, I’m Norman. I work as a car researcher. I am the voice behind CaroraHub. I have over 15 years of experience. I give simple and useful car advice. I help with car care, cleaning, and small repairs. My goal is to help you keep your car healthy. I want car care to be easy and cheap for you. You can trust my tips to keep your car working well for a long time.