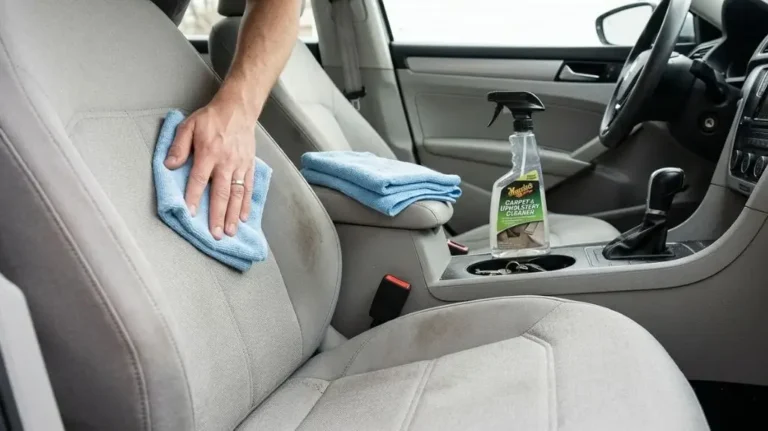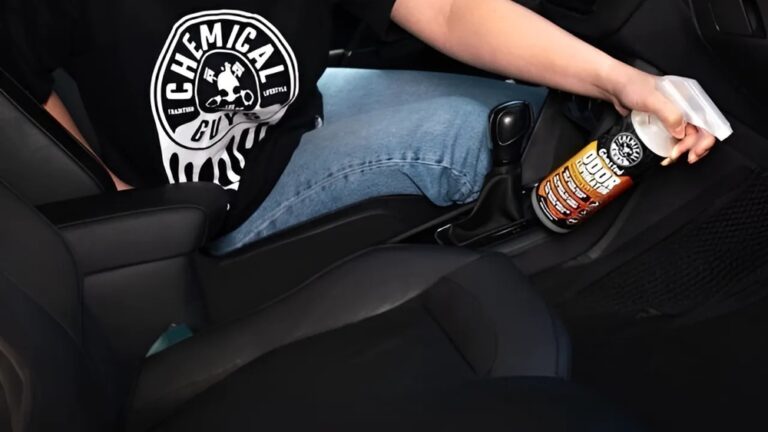
Your leather car seats are more than just a stylish feature they’re an investment in comfort and luxury. Left uncared for, leather will dry, crack, and lose its shine. I’ve learned that a little routine care keeps seats soft and looking new for years.
You might think conditioning leather is complicated or takes a lot of time. It doesn’t. Below I share simple, proven steps to keep leather seats soft, supple, and protected. Ready to protect your car’s interior and enjoy a smoother ride?
Keep reading to learn how to condition leather car seats properly. I include tools, product choices, troubleshooting, and tips I use myself.
Leather Seat Cleaning Basics
Cleaning is the first and most important step in leather care. Dirt, body oils, and spills sit on the grain. Over time they dry the hide and cause cracks. Clean leather holds conditioner better. Below are practical, easy-to-follow steps I use every time.
Choosing The Right Cleaner
Always pick a cleaner made for automotive leather. Avoid household cleaners, bleach, or alcohol. These attack dyes and remove essential oils. Look for a pH-balanced leather cleaner or a mild foam cleaner labeled safe for car seats. Before you clean the whole seat, test the cleaner on a hidden spot. This patch test helps you avoid color loss or damage.
Tools and Supplies You’ll Need
- Vacuum with a soft brush attachment
- Microfiber cloths (several)
- Soft-bristled leather brush or sponge
- pH-balanced leather cleaner
- Clean water in a spray bottle or a damp cloth
- A well-ventilated space, out of direct sun
Preparing The Seats
Start by vacuuming seams and creases to remove crumbs and grit. Use the soft brush to avoid scratching. Wipe surfaces with a dry microfiber cloth to pick up dust. Work in shade and when seats are cool. If the leather is hot, cleaners can dry too fast and leave streaks.
Removing Surface Dirt
Work in small sections. Apply cleaner sparingly to a cloth, sponge, or soft brush. Gently lift dirt — don’t scrub hard. Wipe away residue with a clean, damp microfiber. Repeat until the area is clean. Let seats dry naturally. Once dry, your leather is ready for conditioning.
Selecting The Best Leather Conditioner
Choosing the right conditioner protects leather from drying and cracking. The best product matches your leather type and your climate. I prefer products that nourish without leaving a greasy film. Read labels, check ingredients, and remember: patch-test first.
Types Of Leather Conditioners
Conditioners come as creams, balms, sprays, or oils. Creams are thick and hydrate deeply. Balms add protection and often contain beeswax. Sprays are fast and good for larger areas. Oils give shine but can darken pale leather. Choose based on the leather finish and how much protection you need.
Ingredients To Look For
Look for natural, nourishing ingredients like jojoba oil, lanolin, mink oil, and beeswax. Vitamin E is a helpful antioxidant that supports recovery. Avoid heavy petroleum derivatives that can clog pores. Natural oils keep the leather flexible and help prevent cracking.
Avoiding Harmful Products
Stay away from products with silicone, high alcohol content, or harsh solvents. Silicone can leave a slippery surface that attracts dirt. Alcohol dries leather and causes brittleness. Petroleum-based products may leave residue and speed deterioration in the long run.
Choosing for Different Leather Types
Car manufacturers use several leather finishes: aniline, semi-aniline, and pigmented (protected) leather. Aniline is delicate and needs gentle, low-build conditioners. Pigmented leather tolerates more protection and is often safe with creams or balms. If your owner’s manual gives a recommendation, follow it.
Step-by-step Conditioning Process
Conditioning restores oils and keeps leather soft. I follow a simple, repeatable routine. It avoids over-applying and prevents sticky buildup. The steps below work for most modern car leathers.
Applying Conditioner Evenly
Begin with clean, dry seats. Put a small amount of conditioner on a microfiber cloth or applicator pad. Work in thin, even layers. Cover seams, bolsters, and creases. Use gentle circular motions. Less is better than too much. Avoid soaking the leather — that can weaken the dye and glue.
Allowing Absorption Time
Let the conditioner sit 15–30 minutes. This gives oils time to sink in. In hot, dry weather, absorption may take less time. In cold climates, allow a bit longer. Don’t sit on or touch the seats while the conditioner works.
Buffing For Shine And Protection
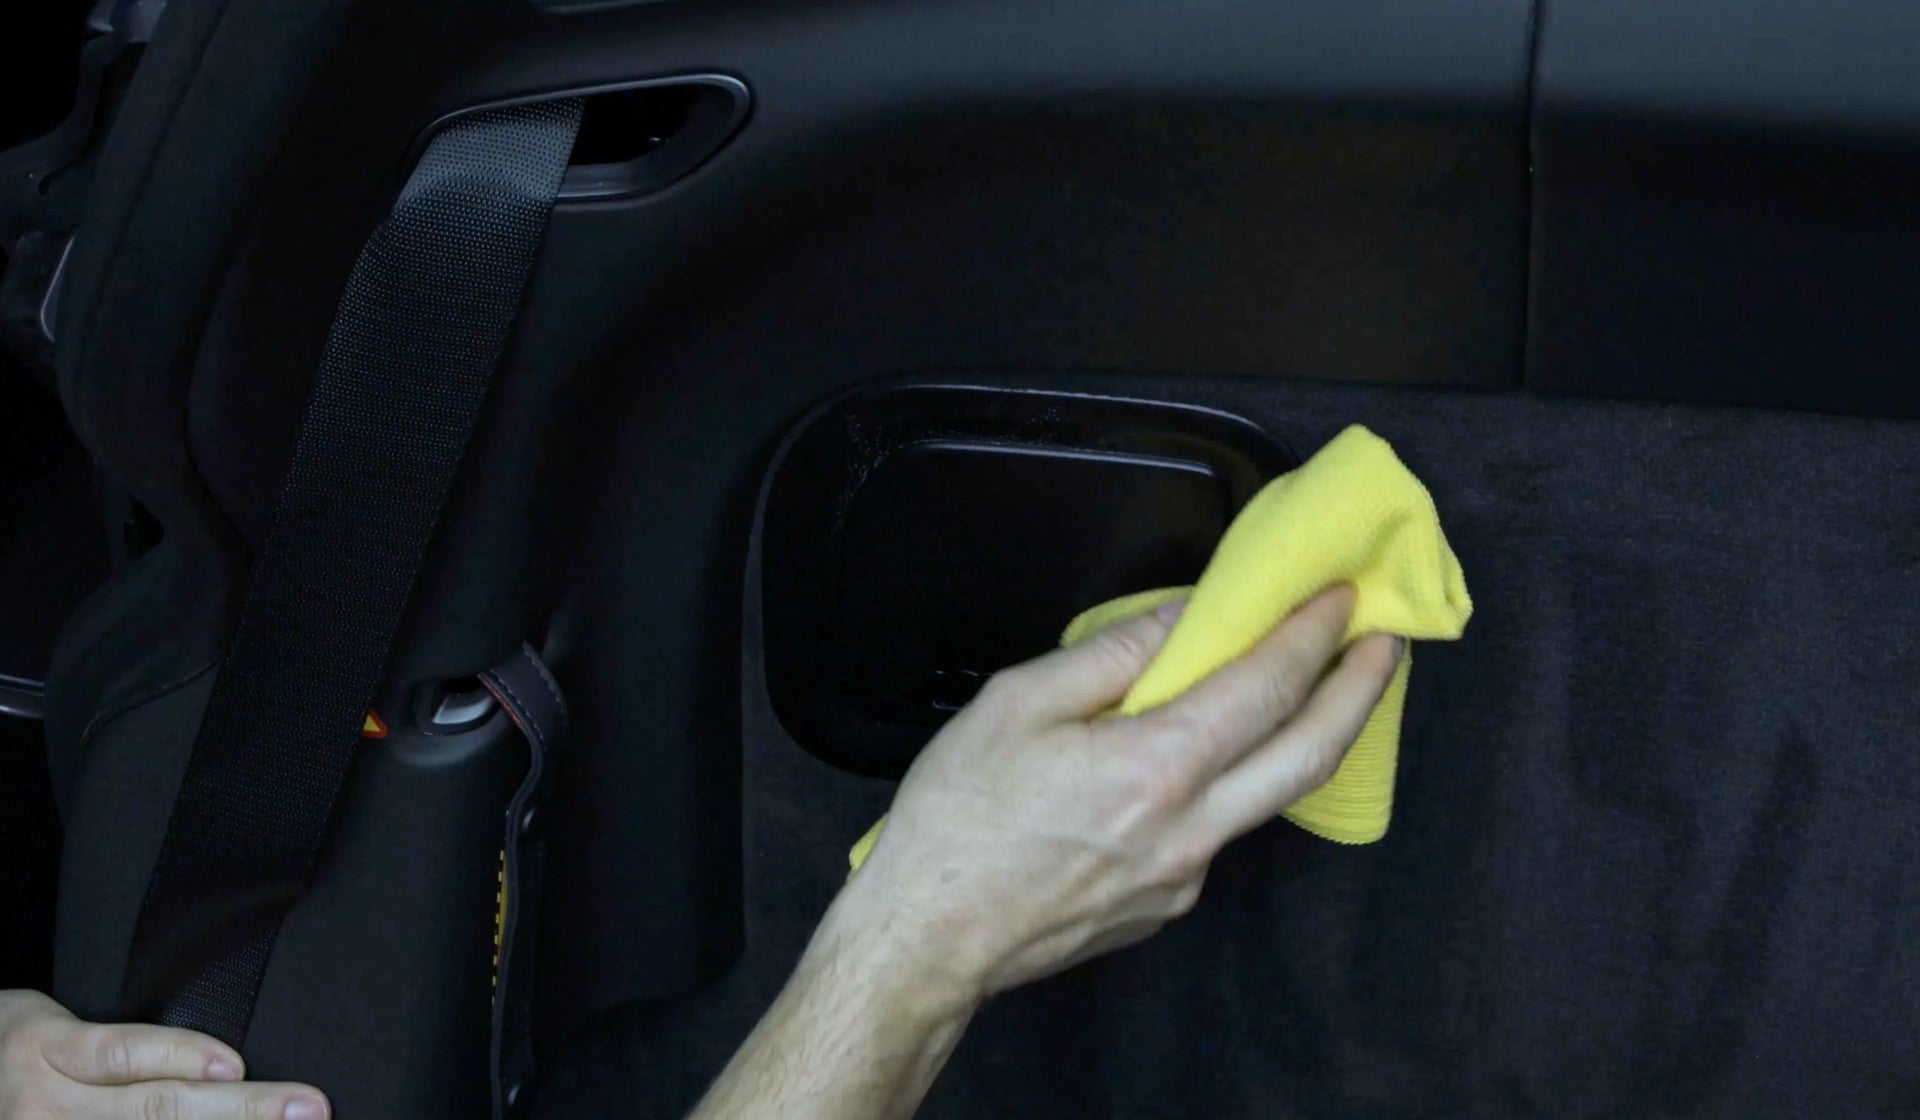
After absorption, buff with a clean, dry microfiber cloth. Remove excess product and bring out a soft, even sheen. Buffing seals the conditioner and reduces tackiness. The result should feel natural — not greasy or slippery.
My Quick Post-Conditioning Check
- Run your hand over seams to check for sticky residue.
- Check color consistency — some products darken leather slightly.
- If excess remains, wipe again with a damp cloth and buff dry.

Credit: www.fibrenew.com
Maintaining Leather Between Treatments
Conditioning every few months is important. But daily and weekly habits keep leather healthy between treatments. Small, regular steps prevent damage and make each full treatment easier.
Regular Cleaning Routine
Wipe seats weekly with a dry microfiber. Remove surface dust that can abrade leather. For deeper cleaning, use a gentle leather cleaner monthly or as needed. Always clean before you condition. Cleaner removes oils and dirt, so conditioner soaks in correctly.
Protecting From Sun Damage
Sunlight fades and dries leather fast. Park in shade when you can. A windshield sunshade helps, too. Consider window tinting to reduce UV exposure. If you live in a hot climate, condition slightly more often to replace lost oils.
Handling Spills And Stains
Act fast with spills. Blot liquids with a soft cloth — do not rub. For sticky or oily stains, use a leather cleaner and a soft brush. Test any cleaner on a hidden area first. Avoid soaking the material. For stubborn stains, consult a professional rather than using strong household detergents.
Quick Spill Response Checklist
- Blot immediately with a clean microfiber cloth.
- Use a small amount of leather cleaner if needed.
- Pat dry and air-dry completely before conditioning.
Common Mistakes To Avoid
I’ve seen a lot of mistakes that shorten leather life. Avoiding them will protect your seats. The most common errors are easy to fix once you know them.
Over-conditioning Risks
Too much conditioner causes buildup. That buildup can feel sticky. It also attracts dirt and blocks the leather from breathing. Stick to the product directions. Condition only as often as your leather and climate need.
Using Harsh Chemicals
Household cleaners, bleach, and ammonia are harsh on leather. They strip natural oils and fade color. Use only products formulated for automotive leather. If unsure, check the owner’s manual or contact the manufacturer.
Ignoring Manufacturer Guidelines
Manufacturer instructions matter. Some cars use delicate finishes or special dyes. Using the wrong product can void warranties or cause irreversible damage. Check your owner’s manual before you start. When in doubt, do a patch test.
/how-to-clean-leather-car-seats-5204366-07-c3e3dbdf4eef4c3cad5c8de095d0b54d.JPG)
Credit: www.thespruce.com
Tips For Long-lasting Leather Care
Good habits stretch leather life. I use these tips year-round. They are small actions with big payoff.
Parking In Shade
Sunscreens and shade reduce UV damage. Park in covered or shaded spots when possible. If no shade is available, use a windshield sunshade and cracked-window ventilation to cut heat build-up inside the car.
Using Seat Covers
Seat covers add a protective layer for heavy use. They shield leather from spills, pets, and UV rays. Choose covers designed for leather seats to avoid trapping moisture that leads to mildew.
Scheduling Professional Care
A professional leather detailer can deep-clean and restore older leather. They use specialized cleaners, dyes, and conditioners. I recommend a professional service every 12–24 months, especially for high-mileage cars or older leather that needs repair.
Credit: swissvax.us
FAQs: How to Condition Leather Car Seats Properly
How Often Should I Condition Leather Car Seats?
Condition leather every 3 to 6 months for most climates. In hot, dry, or sunny areas, condition closer to every 3 months. In mild or shaded climates, 4–6 months often suffices. I adjust frequency by how the leather looks and feels.
What Type Of Conditioner Is Best For Leather Seats?
Use a pH-balanced conditioner made for automotive leather. Avoid heavy oils and silicone. Choose a cream or balm for general use. For delicate aniline leather, use lighter, low-build products. Always test first on a hidden area.
Can I Condition Leather Seats Myself?
Yes. Conditioning is easy with basic tools: microfiber cloths, a soft brush, and a proper conditioner. Follow product directions and work in small sections. If you face deep cracks or dye loss, consult a pro.
Should I Clean Leather Seats Before Conditioning?
Always clean first. Dirt and oils block conditioner from penetrating. A clean surface ensures the product reaches the leather. Clean before each conditioning session for best results.
When to Call a Professional
If your leather shows deep cracks, flaking, peeling, or major color loss, professional restoration is the safest path. Pros can re-dye, repair seams, and replace foam or backing if needed. I take my older car to a pro every few years for a full restore and to catch issues early.
Fixing Small Cracks and Scratches
Minor cracks can often be softened with repeated, gentle conditioning and a leather restorer product. For surface scratches, a leather cleaner, conditioner, and careful buffing usually help. Avoid heavy sanding or home dyes unless you have training — these can make damage worse.
Conclusion On How to Condition Leather Car Seats Properly
Proper care keeps leather seats soft and long-lasting. Clean gently before you apply conditioner. Use small amounts and spread evenly. Let the leather absorb the product, then buff away excess. Avoid harsh chemicals and over-application.
Regular conditioning prevents cracks, preserves color, and keeps your car’s interior inviting. A short care routine every few months protects your investment. Follow these steps, and you’ll enjoy smooth, comfortable seats every time you drive. Keep the routine simple, stay consistent, and your leather will thank you.

I am Julian Drive, an automotive enthusiast and repair expert with over 7 years of hands-on experience in vehicle maintenance. At Carora Hub, I simplify complex car issues into easy-to-follow DIY guides to help drivers stay safe and save on repair costs.