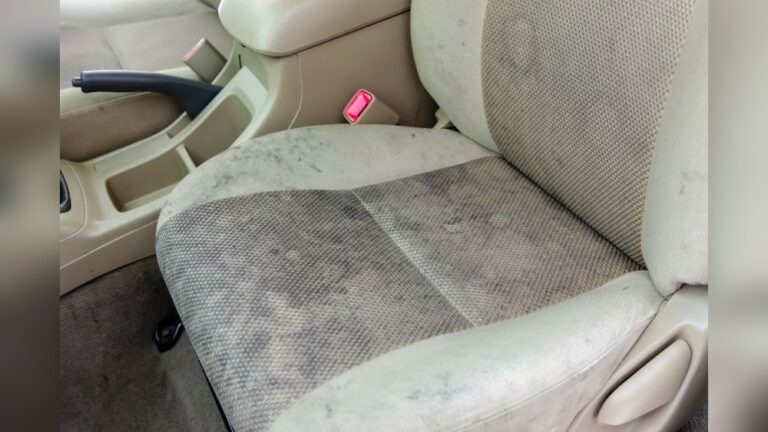
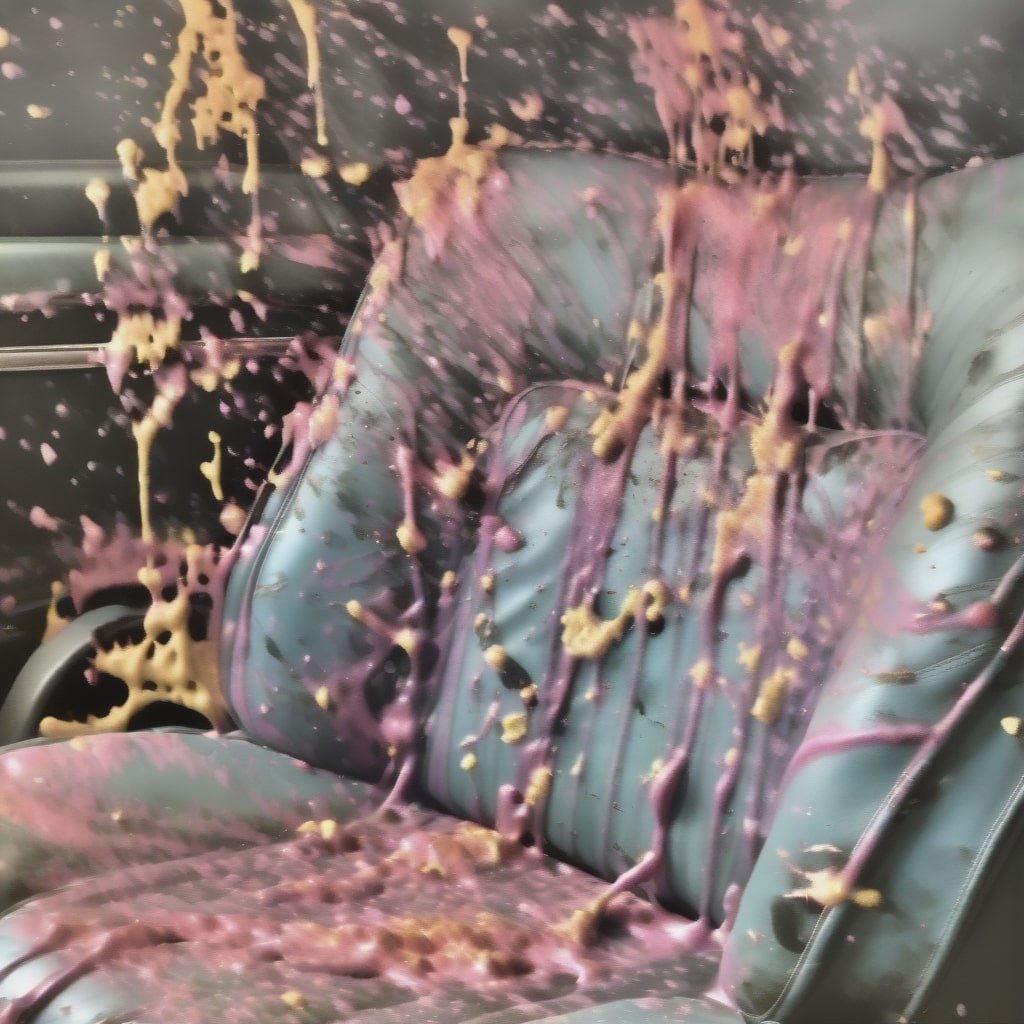
No one likes cleaning vomit from a car. I know — I’ve done it more times than I want to count. Accidents happen quickly, especially with kids, pets, or motion-sick passengers. Wiping a mess is only the start. If you don’t act the right way, stains and smells can stick around for weeks. Air fresheners only hide the problem. In this guide I’ll walk you through how to clean vomit from car seats properly, step by step. I cover fabric and leather, explain why speed matters, list safe cleaners, and share how to get your car smelling fresh again. We’ll keep it practical, clear, and useful so your car feels clean and sanitary fast.
Why Vomit Is So Hard To Clean From Car Seats
Many car owners are surprised at how tough vomit cleanup can be. I once learned this the hard way after a long drive. Vomit has stomach acids, digestive enzymes, and food particles. These soak into fabric, foam, and leather. The acids can damage materials if you delay cleaning. The odor sticks because proteins break down and release gases over time. Even when stains look gone, invisible residue can keep producing bad smells.
Here’s what makes vomit especially tough to remove:
- Acids and enzymes: They can weaken fibers and eat finishes on leather.
- Particles: Small food bits hide in seams, crevices, and under covers.
- Odor molecules: They sink into foam and fabric. Surface cleaning often misses them.
- Stain setting: Dried vomit forms bonds with fibers. That makes stains harder to remove.
Quick, correct action makes all the difference. If you wait, you may need professional extraction or seat replacement. I always treat vomit as an emergency: the faster you work, the better the result.
Essential Tools And Supplies For Cleaning
Having the right supplies ready saves time and protects your seats. I keep a small kit in my trunk. Most items are easy to buy or find at home.
- Disposable gloves: Protects your hands from germs and stomach acids.
- Paper towels or old rags: For blotting up liquids and collecting solids.
- Plastic bags: To contain used towels and waste for disposal.
- Spoon or spatula: Gently lifts solids without pushing them deeper.
- Mild dish soap: Breaks down proteins and oils safely.
- Baking soda: Absorbs moisture and odors quickly.
- White vinegar: Neutralizes odor and acts as a mild disinfectant.
- Enzyme cleaner: Bio-enzymatic cleaners (pet stain removers) break down protein stains.
- Spray bottle: For mixing and applying cleaning solutions.
- Soft brush or old toothbrush: Reaches seams and crevices without damage.
- Vacuum cleaner: A wet/dry vacuum or extractor is best for liquid removal.
- Microfiber cloths: Gentle on fabric and leather; good for blotting and drying.
For leather seats, add:
- Leather cleaner: pH-balanced, made for automotive leather to avoid stripping oils.
- Leather conditioner: Restores moisture and protects the finish after cleaning.
If you travel with kids or pets, keep a compact kit in the trunk. Fast action reduces the chance of permanent damage and lingering odor.
Step-by-step Cleaning Guide For Fabric Car Seats
Fabric seats soak up spills fast. But they are fixable if you follow the right steps. I’ll keep each step clear so you can act quickly and confidently.
1. Remove Solids First
Put on gloves. Use a spoon or plastic spatula to scoop solids into a plastic bag. Work gently to avoid pressing material deeper into the fabric. Seal the bag and dispose.
2. Blot Up Excess Liquid
Press paper towels or a cloth onto the wet area. Don’t rub. Rubbing spreads the stain. Change towels as they fill. The aim is to absorb as much liquid as you can.
3. Pre-treat With Baking Soda
Sprinkle baking soda over the affected spot. Let it sit for 15–20 minutes. Baking soda pulls moisture and begins neutralizing odors. If the area is large, leave it longer—up to an hour.
4. Vacuum Up Baking Soda
Vacuum the baking soda and loose debris. A wet/dry vacuum gives better extraction. Go over seams and crevices with a nozzle to pull out hidden particles.
5. Clean The Stain
Make a mild mix: one cup warm water and a few drops of dish soap in a spray bottle. Lightly mist the area. Use a soft brush or cloth to work the solution in with small circles. Focus on seams and crevices. Keep motions gentle to avoid pushing residue deeper.
6. Use Enzyme Cleaner
After the soap rinse, apply an enzyme cleaner. These cleaners break down protein molecules in vomit. Follow the product label. Most need 10–15 minutes to act. For tough odors, allow longer and reapply as needed.
7. Rinse And Blot Dry
Dampen a clean cloth with plain water and blot to remove cleaner residue. Repeat until the cloth comes away clean. Use dry towels to absorb excess moisture between blotting steps. Avoid soaking the seat foam.
8. Dry Thoroughly
Air dry with doors or windows open. Sunlight helps kill bacteria but don’t overheat interior fabrics. A portable fan speeds drying. If seats stay damp, mold can form. I aim for full dryness within 6–12 hours when possible.
9. Repeat If Needed
Stubborn stains or smells may need another round. Repeat cleaning steps 5–8. For deep odors, use an enzyme treatment overnight and then vacuum thoroughly.
Comparison: Fabric Vs Leather Seat Cleaning
Here’s a quick look at how fabric and leather seat cleaning compares:
| Step | Fabric Seats | Leather Seats |
|---|---|---|
| Pre-treatment | Baking soda | Dry wipe only |
| Main Cleaner | Soapy water, enzyme cleaner | Leather cleaner (pH-balanced) |
| Odor Removal | Enzyme, baking soda | Leather-safe deodorizer |
| Conditioning | Not needed | Leather conditioner |
| Drying | Air dry, sun, fan | Air dry (avoid sun) |
Cleaning Vomit From Leather Car Seats
Leather is easier to wipe but more sensitive. Harsh cleaners, bleach, or heavy scrubbing can fade or crack leather. Here’s a safe, effective method I use for leather upholstery.
1. Act Fast
Remove solids with a paper towel or spatula. Blot liquids with towels. Quick removal prevents acids from soaking the finish. I always keep a small pack of towels in the car for this reason.
2. Use A Damp Cloth
Dampen a microfiber cloth with warm water. Wipe gently. Don’t soak the leather. Excess water can lift dyes and damage backing materials.
3. Apply Leather Cleaner
Use a pH-balanced leather cleaner. Spray it on a cloth, not directly on the seat. Clean in small circles. Avoid scrubbing and abrasive tools. Test in a hidden area first if the leather is light-colored.
4. Rinse And Dry
Wipe off cleaner with a damp cloth to remove residue. Dry with a soft towel immediately. Do not leave moisture on the leather surface.
5. Deodorize Safely
For mild smells, place a dish of baking soda or activated charcoal inside the car overnight. Do not sprinkle baking soda directly on leather; it can dry the surface and leave residue.
6. Condition The Leather
After the seat is fully dry, apply a leather conditioner. This restores oils and helps prevent cracking. Rub in gently and buff after 10–15 minutes. Conditioning is essential after enzyme or soap cleaning.
7. Avoid Heat And Sun
Keep the car shaded while leather dries. Direct sun can dry and stiffen leather fast. Moderate air drying is safer.
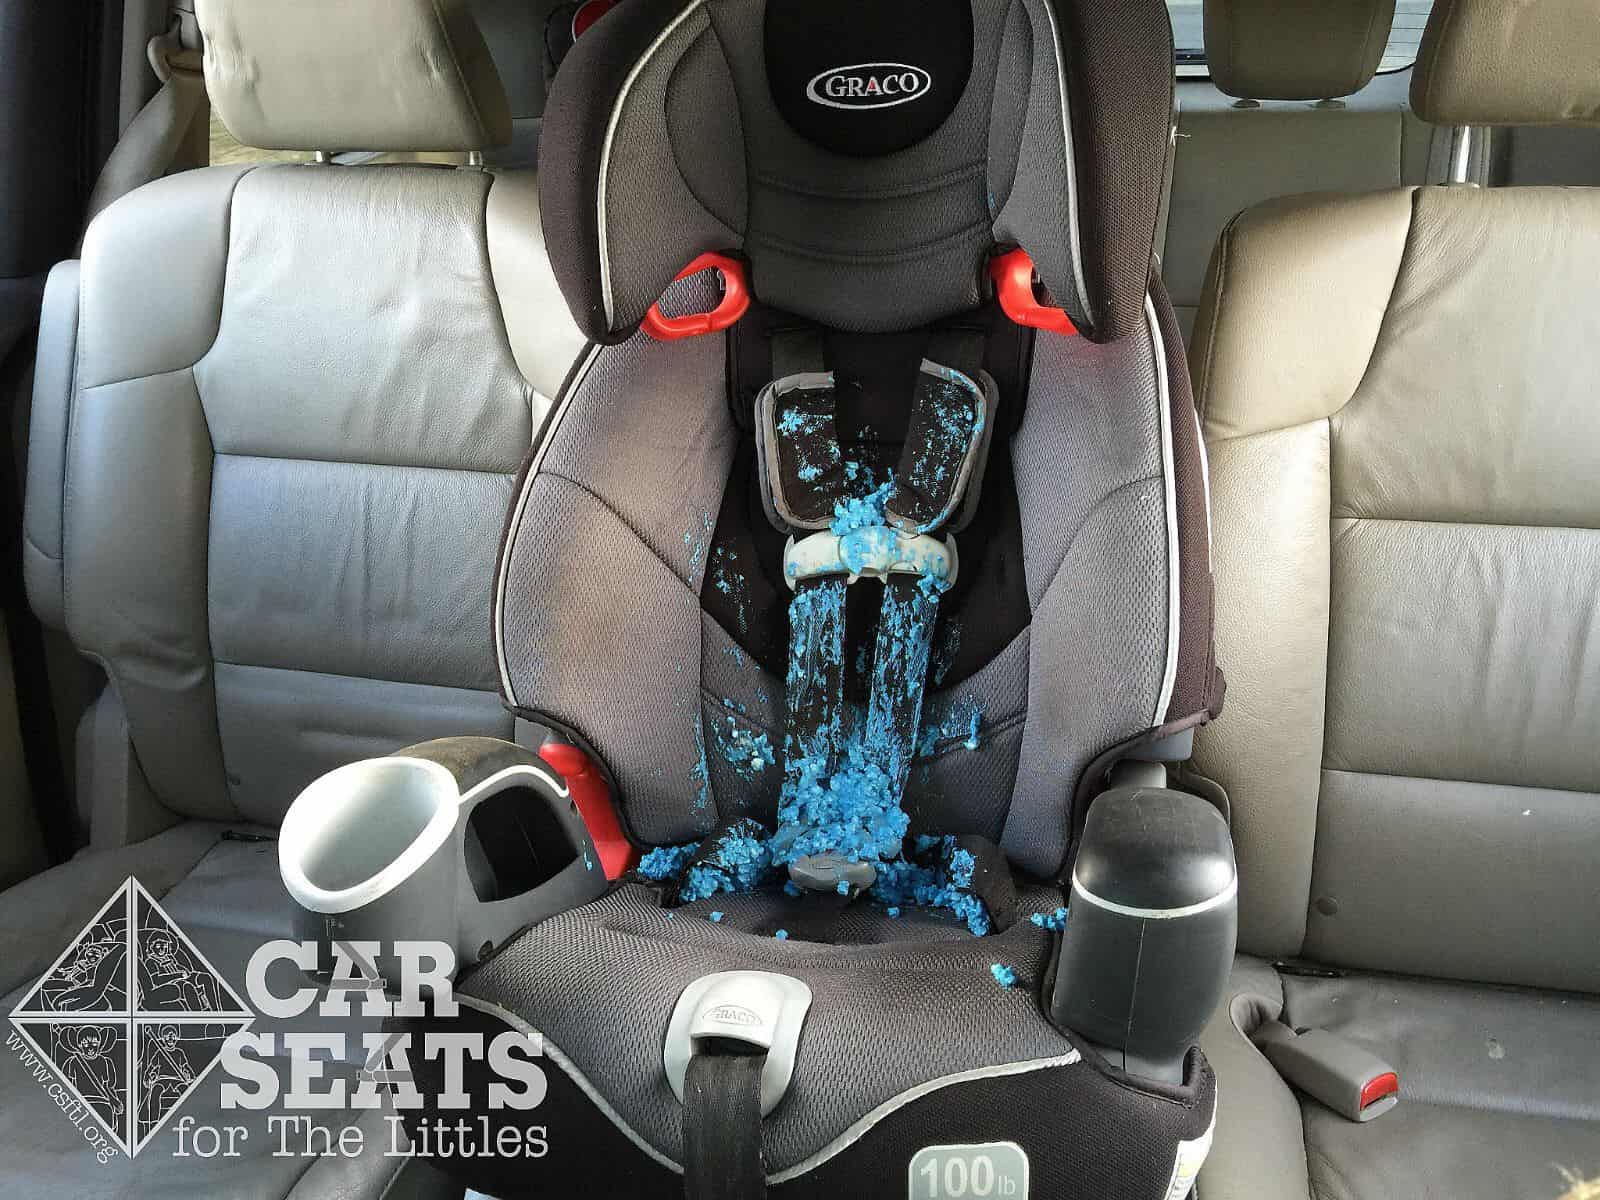
Example: Leather Seat Cleaning In A Real Situation
Picture a child getting sick on a beige leather seat mid-trip. Quick action—removing solids, wiping gently, and using a pH-balanced cleaner—keeps the seat looking new. Wait an hour and the acid can damage the finish and trap smells.
Credit: csftl.org
Special Case: Vomit In Seat Seams, Crevices, And Seat Belts
Vomit can travel into seams, folds, and seat belt webbing. These hidden spots trap particles and odor. I always check these areas closely after a spill.
Cleaning Seat Seams And Crevices
- Use a soft brush or toothbrush to lift particles from seams.
- Vacuum with a crevice nozzle to pull out debris and liquid.
- Spray a small amount of cleaner into the seam, wait, then blot with a cloth.
- Repeat vacuuming and blotting until the area is clean. Patience pays off.
Cleaning Seat Belts
Seat belts can trap stains and smells if you don’t clean them properly:
- Pull the belt fully out and clamp it so it stays extended while you clean.
- Wipe away surface vomit with a damp cloth.
- Use mild soap and water on a cloth to clean the belt webbing. Avoid soaking the retractor mechanism.
- Rinse with a clean damp cloth, then blot dry.
- Let the belt air dry fully before retracting to prevent mold and retractor issues.
Common Mistakes With Seams And Belts
- Missing hidden areas where vomit can hide.
- Using too much water, which can ruin foam and belt mechanisms.
- Forgetting to let parts dry fully, which leads to mold and lingering odors.
How To Remove Vomit Odor From Car Seats
Stains are one challenge. Odor is another. Even after a visible clean, smells can linger. Use targeted odor removal to fix the source, not just the surface.
1. Use Enzyme-based Odor Removers
Enzyme cleaners are the top choice for organic odors like vomit. They digest proteins and remove the source of the smell. Apply generously and allow adequate dwell time. For deep odors, repeat applications overnight.
2. Baking Soda For Odor Absorption
After cleaning, sprinkle baking soda and leave for several hours or overnight. Vacuum the powder. Baking soda traps odor molecules and helps freshen fabric.
3. White Vinegar Solution
Mix equal parts white vinegar and water in a spray bottle. Lightly mist the area and let it air dry. Test first on a hidden spot for colorfastness. The vinegar smell fades as it dries and neutralizes many odors.
4. Use Activated Charcoal
Place a small container of activated charcoal under the seat. Charcoal slowly absorbs smells from the air and fabric. Replace every few days for best results.
5. Air Out The Car
Open doors and windows for several hours in a safe location. Fresh air and sunlight help remove lingering smells. Run the fan on high while airing out to circulate air through vents.
6. Professional Ozone Treatment
If odors persist, professional ozone treatment can neutralize stubborn smells. Ozone machines work well, but only trained technicians should use them. Ozone must be handled safely because it is reactive.
Data: Effectiveness Of Odor Removal Methods
A study on odor removal techniques found the following results:
| Method | Average Odor Removal (%) | Works on Vomit? |
|---|---|---|
| Baking Soda | 75% | Yes (surface odors) |
| Vinegar Solution | 80% | Yes (with repeated use) |
| Enzyme Cleaner | 95% | Yes (deep odors) |
| Activated Charcoal | 60% | Yes (slow process) |
| Ozone Treatment | 99% | Yes (professional only) |
Credit: www.overlandcarwash.com
Preventing Vomit Stains And Odors In The Future
Prevention is the easiest fix. With a few habits and supplies, you can avoid big cleanups. I use covers and a kit every time we travel.
1. Use Seat Covers
Waterproof or washable seat covers protect the original upholstery. They are much easier to remove and wash after an accident. Invest in covers for kids and pet seats.
2. Carry An Emergency Kit
Keep a small kit in your trunk: gloves, paper towels, plastic bags, baking soda, a spray bottle with mild soap, and an enzyme cleaner. You can start cleaning immediately and reduce damage.
3. Protect With Fabric Or Leather Guard
Apply a fabric protector or leather guard. These sprays create a barrier that slows absorption. They make cleanup much easier and help prevent stains from setting.
4. Plan For Passengers
On long trips, carry sick bags, ginger candies, or motion sickness meds. Ask passengers to tell you early if they feel ill so you can stop safely. Quick stops reduce mess severity.
5. Clean Immediately
The longer vomit sits, the harder it is to remove. Clean within 30 minutes when possible. Immediate action reduces stain setting and odor bonding.
Data: How Fast Stains Set In
Tests show protein-based stains (like vomit) start bonding to fibers in under 30 minutes. After two hours, stains can be 3–5 times harder to remove. That’s why I treat vomit as an immediate cleanup task.
When To Call A Professional Cleaner
Many spills are manageable at home. But there are times to call a pro. I do when the spill is large or when odors won’t go away.
- Large spills: If vomit covers a wide area or soaks deep, professionals have extraction tools and drying equipment.
- Persistent odor: If smells remain after home treatments, detailers can use ozone or steam methods safely.
- Delicate materials: For suede, Alcantara, or perforated leather, professional cleaning reduces the chance of damage.
- Mold risk: If seats stay wet over 24 hours, mold may start. Professionals disinfect and dry thoroughly.
Professional cleaning costs vary. Expect $75–$200 per seat for full cleaning and odor removal, depending on the job and location. For more tips on car interior cleaning, see this Consumer Reports guide: https://www.consumerreports.org/cars/car-cleaning-tips-a9218477856/.
Credit: auto-glanz.co.uk
Non-obvious Insights For Better Cleanup
Most guides cover the basics. Here are a few expert tips people often miss:
- Check under and behind seats. Vomit can drip into hidden spaces and rot unnoticed.
- Clean air vents if the smell lingers. Run the fan on high with windows open after cleaning.
- Replace the cabin air filter. Strong smells cling to filters after major spills.
- Test cleaners on hidden spots. Some upholstery or leather can discolor with certain products.
- Keep windows cracked for 24 hours after cleaning. That helps moisture escape and prevents mold.
Frequently Asked Questions
How Soon Should I Clean Vomit From Car Seats?
Clean as quickly as possible. Within 30 minutes is best. The longer you wait, the more stains and odors set. Immediate cleanup protects upholstery and leather.
What If Vomit Smell Returns After Cleaning?
If the odor returns, residue remains somewhere. Repeat enzyme treatment and vacuum the area. Use baking soda or activated charcoal to absorb lingering smells. If that fails, consider professional ozone treatment.
Can I Use Household Cleaners Like Bleach Or Ammonia?
No. Avoid bleach and ammonia. They can fade fabric, damage leather, and leave harsh odors. Use mild dish soap, enzyme cleaners, or products made for car interiors.
Is It Safe To Use A Steam Cleaner On Car Seats?
Steam cleaners work for fabric seats but use caution. Too much moisture can soak into foam and cause mold. Avoid steam on leather; heat and water can damage the finish.
How Do I Know If The Stain Is Fully Gone?
Inspect after the area dries in good light. No discoloration and no smell usually means the stain is gone. Check seams, under the seat, and the belt webbing to be sure nothing was missed.
Cleaning vomit from car seats is never fun. But with the right tools, quick action, and the right cleaners, you can restore your car to a clean, odor-free state. Keep a kit on hand, act fast, and call a pro for tough cases. Your car — and your nose — will thank you.

I am Julian Drive, an automotive enthusiast and repair expert with over 7 years of hands-on experience in vehicle maintenance. At Carora Hub, I simplify complex car issues into easy-to-follow DIY guides to help drivers stay safe and save on repair costs.