Toyota Prius vehicles use both components in their braking systems, but it’s helpful to understand that toyota prius brake pads vs brake shoes serve different functions because the front wheels use pads while the rear wheels typically use drum brakes with shoes. You don’t choose between them; you maintain the specific parts installed at each corner of your car.
Comparing Toyota Prius brake pads and shoes
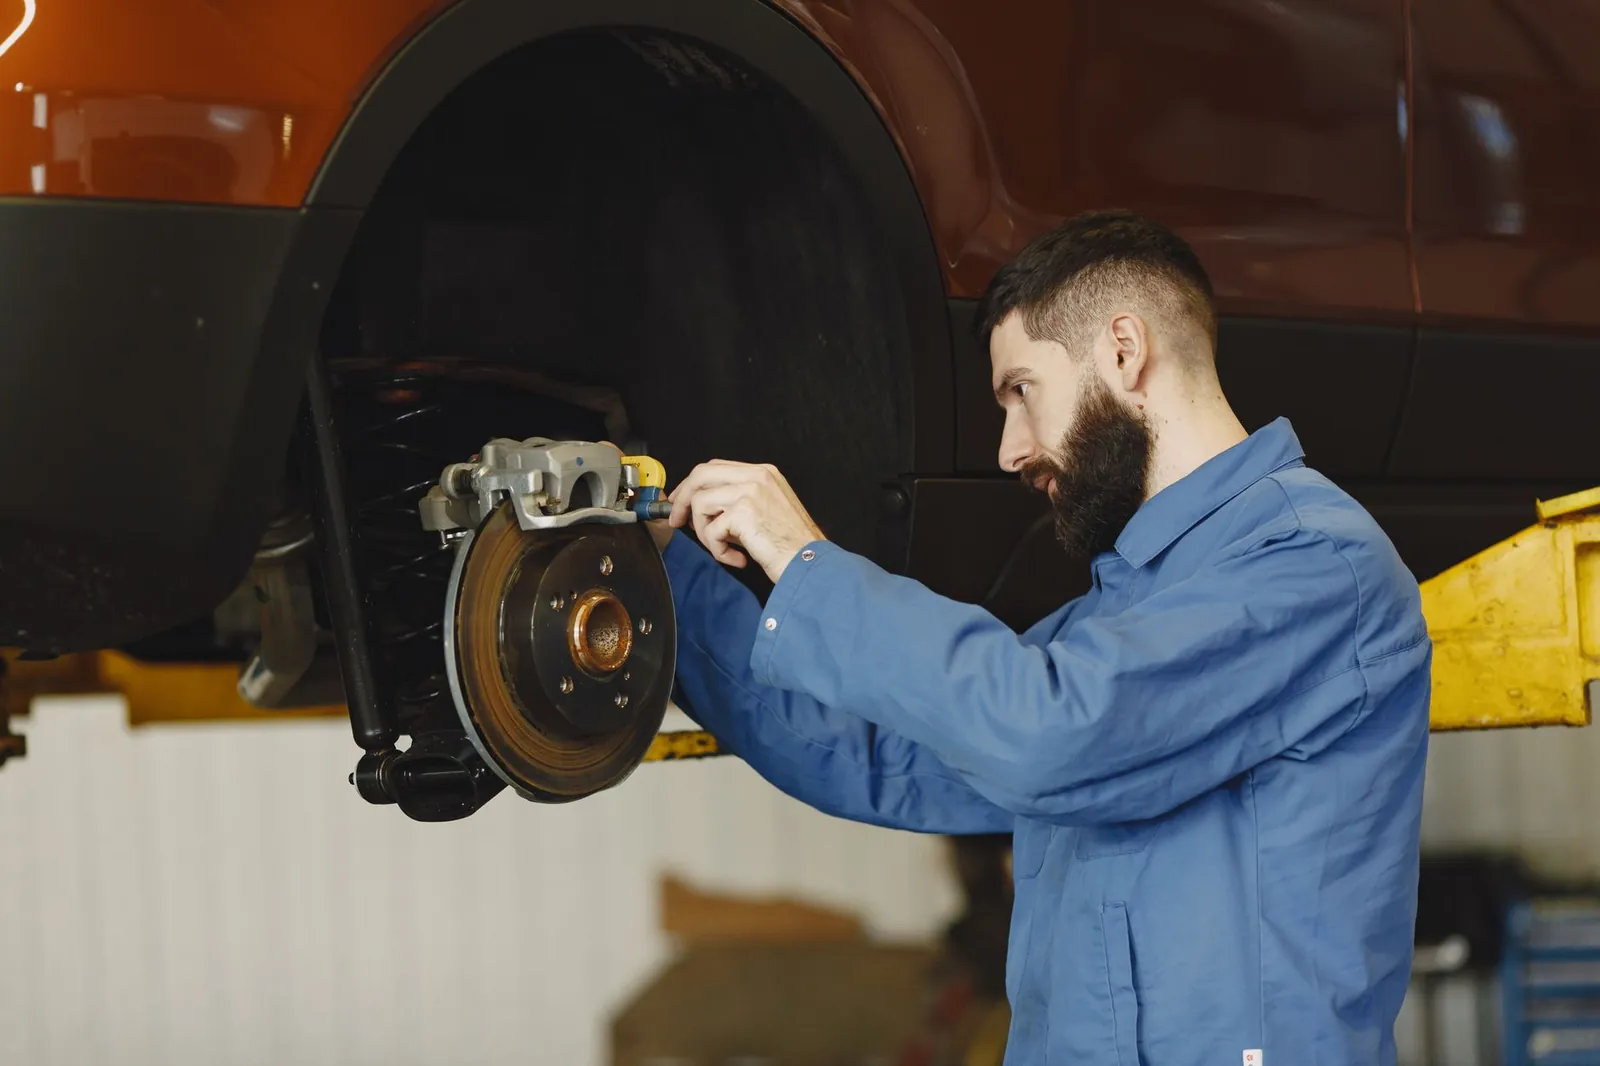
The braking system on a Prius relies on a mix of technologies to stop the vehicle while capturing energy for the battery. While front brakes use traditional friction pads, the rear setup often uses drum brakes. The table below shows the key differences between these two common automotive friction components.
| Method | How long | Effort | Cost | Best for |
|---|---|---|---|---|
| Front brake pads | 30k-50k miles | Low | Medium | Primary stopping |
| Rear brake shoes | 60k-90k miles | Medium | Low | Parking/Rear assist |
The service life of these parts varies based on your driving habits and local road conditions. If you live in a hilly area, you’ll wear through your pads much faster than someone driving on flat highways. You can check your specific maintenance schedule in the Toyota owner manual to see the expected replacement intervals for your model year.
Servicing front disc brake pads
Front pads are the primary stopping force for your car. They use hydraulic pressure to squeeze a rotor, creating the friction needed to slow the wheels.
-
Lift the vehicle using a secure jack and remove the front wheel to access the caliper assembly. Always place the frame on jack stands; never rely on the hydraulic jack alone while your hands are inside the wheel well.
-
Remove the two mounting bolts on the back of the caliper, then pull the caliper off the rotor. Use a bungee cord to hang the caliper from the suspension coil. Letting it dangle by the rubber brake hose causes internal stress that leads to premature line failure.
-
Slide the old pads out of the metal bracket and clean the contact points with a wire brush. Apply a thin layer of high-temperature brake grease to the metal clips. Skipping this step causes the pads to seize, which leads to uneven wear and a persistent squealing noise.
-
Compress the caliper piston using a specialized tool so the new, thicker pads will fit. If the piston resists, check the master cylinder reservoir. If it’s full, you must siphon out a small amount of fluid to prevent an overflow.
-
Install the new pads, reattach the caliper, and torque the bolts to the manufacturer’s specific setting. Failing to use a torque wrench risks shearing the bolt or damaging the caliper threads.
These pads provide excellent stopping power and are easy to inspect through the wheel spokes. Their main weakness is that they accumulate brake dust on your wheels and wear down faster than rear components. If you lack the proper tools, have a professional technician handle this task to ensure your safety.
Maintaining rear drum brake shoes
Rear shoes sit inside a metal drum. When you press the pedal, the shoes push outward against the inside of the drum to stop the car.
- Remove the rear wheel and pull the brake drum off the hub assembly.
- Use a pair of pliers to remove the tension springs holding the shoes in place.
- Clean the inside of the drum with brake cleaner, ensuring you don’t breathe in the dust.
- Hook the new shoes into the bottom pivot point and reconnect the tension springs.
- Adjust the star wheel adjuster until the drum slides back on with a light drag.
Shoes are very durable and often last twice as long as front pads because the regenerative braking system does most of the light stopping. The biggest challenge is the complex spring setup, which can be difficult to reinstall without the right tools.
A common mistake is failing to lubricate the contact points on the backing plate. If you skip this, the shoes will stick and cause uneven wear or a grinding noise. Use a high-temperature brake grease, but apply it sparingly to avoid contaminating the friction surface.
If the drum refuses to slide over the new shoes, the star wheel is likely expanded too far. Back it off three clicks and try again. If the drum still binds, check that the parking brake cable is fully released.
Replacing the hybrid system components
The regenerative braking system is the most important part of your Prius. It uses the electric motor to slow the car down, which saves wear on your mechanical brakes.
Monitor your dashboard for any warning lights related to the hybrid or anti-lock braking systems. If the “Brake” warning light stays on after starting, have a professional scan the vehicle’s computer immediately. A delay here often indicates a failing brake actuator, which can be quite expensive if left unaddressed.
Avoid “riding the brakes” on long descents, as this prevents the system from using the motor to slow you down. Instead, shift into “B” mode to maximize engine braking and energy capture.
Schedule a professional inspection of the brake fluid levels and hydraulic lines every 20,000 miles. Technicians must use a specific scan tool to bleed the air from the lines; standard manual bleeding methods will fail and can damage the master cylinder.
This method is the most efficient way to maintain your vehicle’s range and battery health. Its strength lies in its ability to recycle energy, but its weakness is that it’s a complex electronic system. You should never attempt to service the high-voltage components or the brake actuator yourself; these require specialized training and equipment.
Selecting the right service path
When you’re in a hurry, focus only on the front brake pads, as they provide the majority of your stopping power and are quicker to swap. If you’re doing this for the first time, start with the front pads because the assembly is much simpler and requires fewer specialized tools than the rear drum setup.
When you want the best possible result whatever it takes, perform a full system flush and replace all friction materials to ensure the car handles exactly like it did when new. A common mistake is replacing only the pads while ignoring the brake fluid. If your fluid is aged, it likely contains moisture that will cause a “spongy” pedal feel regardless of your new pads.
The trade-off here is between the ease of disc brake maintenance and the long-term durability of drum shoes. You must always prioritize safety over saving time. Use this decision rule: if the rotor thickness is above the manufacturer’s minimum specification, a simple pad swap is sufficient. If the rotor shows deep scoring or is below the wear limit, you must replace the rotors to prevent premature pad failure.
If you feel any vibration, hear grinding noises, or notice the car pulling to one side, stop driving immediately. Have a qualified mechanic perform a full inspection. Never ignore these signs, as they indicate that your braking system is no longer performing at its factory-designed level.
Guidelines for all brake work
Regardless of which component you’re replacing, you must follow strict safety protocols. Always use jack stands rated for your vehicle’s weight; never trust a hydraulic jack alone while your body is under the car.
Before you begin, verify your specific vehicle’s torque specifications, as these vary between different trim levels and model years. Check your work by pumping the brake pedal several times before moving the car to ensure the pads or shoes are properly seated against the rotors or drums.
If you’re unsure about any part of the process, consult a certified repair shop. Working on braking systems carries a significant risk to your safety and the safety of others on the road. A mistake during assembly can lead to brake failure, which is a serious legal and physical hazard. Always keep your receipts for parts to maintain your service records, as these are vital for future resale value and warranty claims.
FAQs About Toyota Prius Brake Pads vs Brake Shoes
Is it safe to drive with worn brake pads?
No, driving with worn pads is dangerous because it increases your stopping distance and can damage the rotors. If you hear a high-pitched squealing sound, that’s the built-in wear indicator telling you the pad material is getting thin. You should replace the pads as soon as you hear this noise to prevent more expensive damage to the metal components of your braking system.
How long do Prius brakes last?
The mechanical brakes on a Prius typically last 60,000 to 100,000 miles because the car uses regenerative braking to handle most of the work. This figure assumes you drive in a mix of city and highway traffic and don’t frequently use heavy braking. If you drive mostly in stop-and-go city traffic, you may need to replace them sooner than those who commute on open roads.
Can I replace only one side of the brakes?
No, you must always replace brake pads or shoes in pairs across the same axle to maintain balanced stopping power. If you only replace one side, the car will pull strongly to the side with the new, grippier parts during an emergency stop. This imbalance creates a dangerous situation that makes the vehicle difficult to control on slippery or uneven road surfaces.
What happens if I use the wrong brake parts?
Using the wrong parts can lead to poor stopping performance, increased noise, and potential failure of the entire braking system. Different models require specific friction compounds and dimensions to work correctly with the Prius’s complex regenerative software. Always use parts that match the original equipment manufacturer specifications for your exact model year to ensure the safety features work as intended.
Why do my brakes feel spongy?
Spongy brakes usually mean there’s air trapped in the hydraulic lines or the brake fluid has become contaminated with moisture. You should have a professional perform a brake fluid flush to remove the air and replace the old fluid. Don’t attempt to drive the car if the pedal goes all the way to the floor, as this indicates a total loss of hydraulic pressure.
How do I know if my drum brakes need service?
You know the drum brakes need service if you feel a pulsing sensation in the pedal or hear a scraping sound from the rear of the car. Because the drums are enclosed, it’s harder to see the wear than with disc brakes. If the parking brake handle needs to be pulled much higher than usual to hold the car, it’s a sign that the shoes have worn down.
Conclusion
Keeping your braking system in top shape ensures you’ll stay safe on every drive. If you hear a squealing sound or notice your car pulling to one side, don’t wait to have a mechanic take a look. It’s always better to catch these issues early so you’re ready for the road ahead.

I am Julian Drive, an automotive enthusiast and repair expert with over 7 years of hands-on experience in vehicle maintenance. At Carora Hub, I simplify complex car issues into easy-to-follow DIY guides to help drivers stay safe and save on repair costs.