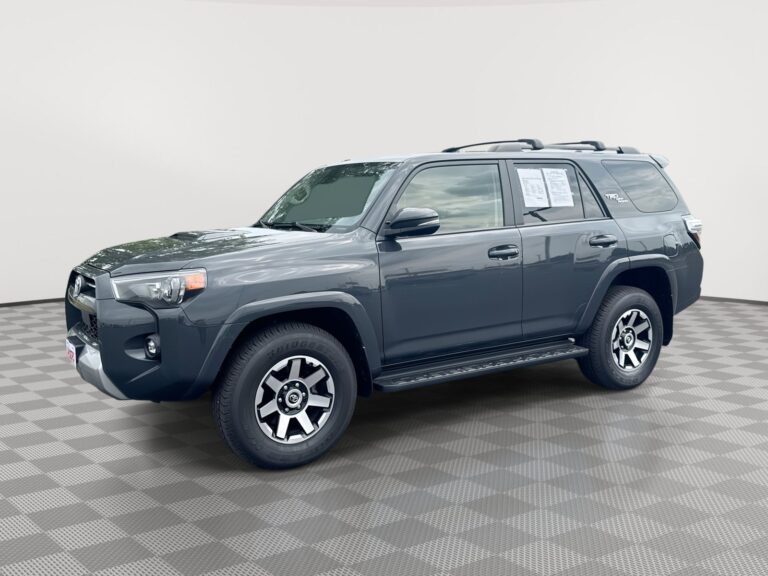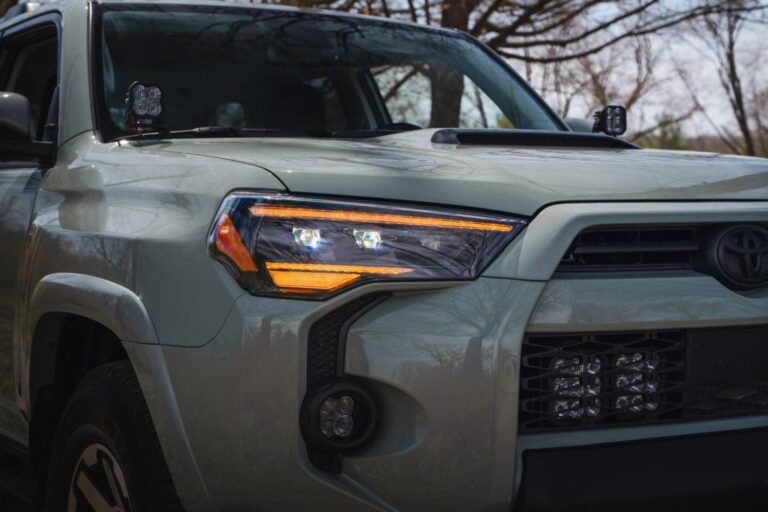
LED pods are the best fog lights for a Toyota 4Runner because they throw a wide, flat beam that cuts through weather without blinding other drivers. If you’re trying to choose the right fog lights for Toyota 4Runner models, start there. The one time halogens win is when you need cheap replacements that match the factory housing exactly and you don’t plan to keep the truck long.
Choosing the right fog lights for your Toyota
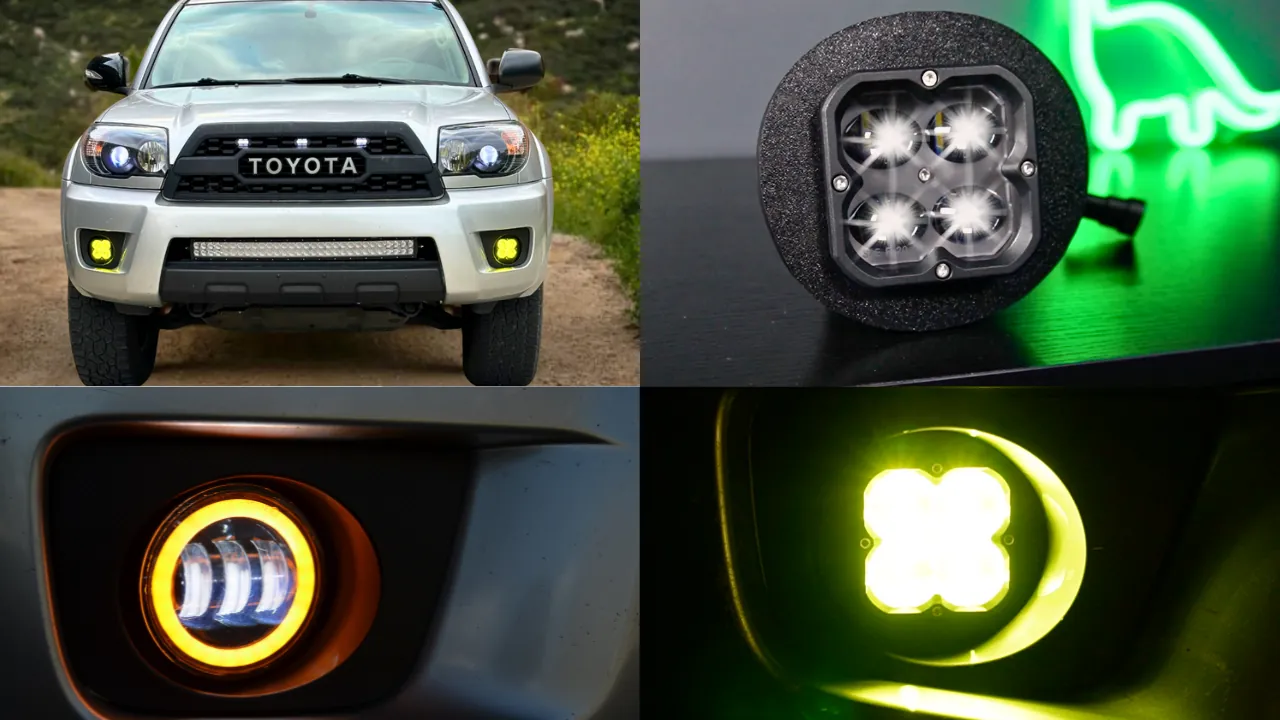
Four real options exist for this truck, and each trades something away. You can’t get maximum brightness, zero wiring work, and the lowest price in a single package.
| Method | How long | Effort | Cost | Best for |
|---|---|---|---|---|
| LED pod lights | 2-3 hours | Medium | High | Off-road trails and heavy weather |
| Halogen bulb upgrade | 15-20 minutes | Low | Low | Stock look on a tight budget |
| HID conversion kit | 3-4 hours | High | Medium | Maximum distance on dark highways |
| Yellow LED bulbs | 15-20 minutes | Low | Medium | Rain, snow and dense fog |
The trade-off is always between output and ease. Pods give you the most usable light but demand mounting brackets and new wiring. Bulb swaps take minutes yet leave you stuck with the factory reflector’s limits.
If your 4Runner already has a bumper guard or skid plate, pods bolt straight on; if it’s completely stock and you want to avoid drilling, stick to direct-fit bulbs. Check your specific model year’s owner manual at Toyota’s official owners page before buying anything, since the housing size changed between generations.
LED pod lights mounted low
LED pods replace the idea of a fog light entirely. Instead of fitting inside the factory hole, they mount below the bumper or onto a plate. They use focused optics to create a sharp cutoff line, keeping light out of oncoming eyes while flooding the ground near your tires.
They’re built for rough use. Water resistance ratings like IP68 mean they survive deep puddles and pressure washing. Their weakness is installation: running wires cleanly takes patience, and a loose bracket rattles constantly on washboard roads.
- Pick a 3-inch or 4-inch pod rated for fog or driving use. Don’t buy spot beams for this job; their narrow pattern is useless in bad weather.
- Mount the pods below the bumper using vehicle-specific brackets. Aim them so the top edge of the beam hits the ground about 25 feet ahead of the truck.
- Wire the pods to a relay harness connected directly to the battery. Run the trigger wire to a switch inside the cabin.
- Seal every connection with heat-shrink tubing. Bare crimps corrode quickly under a 4Runner.
- Test the aim at night against a wall. Adjust until the beam stays below headlight height.
This setup requires basic electrical knowledge. If you aren’t comfortable splicing into a relay harness, an off-road lighting shop should handle the wiring.
Halogen bulbs swapped for brighter ones
A halogen upgrade keeps everything factory. You pull the old bulb and push in a new one. Higher-performance halogens use better gas fills and tighter filaments to squeeze more lumens from the same wattage.
It’s the fastest path to slightly better visibility. No tools beyond a glove to keep skin oils off the glass. The downside is physics: halogens waste energy as heat, and even the best ones fall far short of modern LEDs in raw output.
- Find your bulb size. Fifth-generation 4Runners (2010-2024) usually take H11 or H16 bulbs for the fog position. Sixth-generation models differ, so verify in your manual.
- Buy a performance halogen pair from a known brand like Philips or Sylvania. Avoid unbranded “super white” bulbs; they just dim the light behind blue paint.
- Reach behind the bumper to unplug the factory connector. Twist the old bulb counterclockwise and pull it straight out.
- Insert the new bulb without touching the glass. Skin oils cause hot spots that crack the quartz envelope early.
- Twist clockwise to lock it, plug the harness back in, and turn them on to check.
This works well for daily driving where you just need a bit more light on wet roads. It won’t light up a forest trail.
Yellow LED bulbs for bad weather
Swapping to yellow LEDs combines that color advantage with solid-state efficiency.
They drop right into the factory housing, keeping the stock look while changing how the light behaves in storms. Any bulb relies on the factory reflector bowl, which wasn’t designed for an LED chip’s shape. Your exact beam spread depends on your 4Runner’s model year and the reflector printed on the housing itself.
- Confirm your fog light bulb size again. Buying the wrong base means returning parts and waiting.
- Choose yellow LEDs specifically sized for automotive housings. Oversized heat sinks won’t fit behind the dust cover.
- Unplug the factory harness and remove the halogen bulb.
- Plug the LED driver into the harness, tuck the small box out of the way, and insert the bulb.
- Turn them on and check for flickering. Some 4Runners need a CANbus adapter to stop the computer from flashing the lights.
This is the smartest pick for drivers who face rain or snow regularly but don’t want to modify the bumper.
Which 4Runner fog lights fit your drive
Picking between these comes down to what you actually do with the truck on a Tuesday night. It isn’t about what you might do someday.
When you’re in a hurry and the current bulbs just blew, halogens win. You don’t need a wiring diagram or a drill. Fifteen minutes behind the bumper gets you legal, working lights again.
A common mistake here is buying halogens rated for off-road use and running them on the street. They will blind oncoming traffic and earn you a ticket. Check the packaging for DOT or SAE compliance before you leave the parts counter.
When you’re doing this for the first time, yellow LED bulbs are the safest bet. They plug directly into the existing socket. You get better weather performance without cutting a single factory wire.
When you want the best possible result whatever it takes, LED pods are the only real answer. They ignore the limits of the factory reflector entirely. You dictate the beam width, the mounting height, and the total output.
If your trails have tight switchbacks, choose pods with a wide flood pattern. Fast fire roads demand spot optics that throw light hundreds of feet ahead. Mixing up these patterns leaves you either staring at the trees or missing the ditch right in front of you.
The trade-off is simple. Convenience costs you brightness. Maximum brightness costs you time and effort. A quick bulb swap leaves your bumper untouched but limits your vision to what the old reflector allows. Drilling for pods gives you unmatched trail visibility but permanently alters the truck. Match the method to the miles you actually drive.
Rules for any 4Runner fog light setup

Whatever you bolt on, the same physical rules apply. Fog lights should sit lower than your headlights. Mounting them low changes the angle of illumination, which reduces the amount of light that scatters off water droplets back into your eyes.
In the US, aftermarket auxiliary fog lights are governed by individual state vehicle codes rather than a single federal standard. Check your state’s vehicle code before mounting anything above the bumper line.
Prepare by cleaning the mounting area thoroughly. Mud and road salt trapped under a bracket will eat the metal beneath it. Gather dielectric grease for every plug you disconnect.
Partway through, stop and turn the lights on before you button everything up. Checking the aim while the bumper is still apart saves you from taking it apart twice. Make sure the beam doesn’t rise above the low-beam cutoff.
At the end, zip-tie all loose wires away from moving suspension parts and the exhaust. Heat melts insulation, and vibration saws through unprotected cables.
If you’re installing high-draw pods that require upgrading the alternator or modifying the main fuse block, that crosses into professional auto-electrical work. Hand that part to a certified mechanic.
FAQs On Choose the Right Fog Lights for Toyota 4Runner
Can I put LED bulbs in my stock 4Runner fog housings?
Yes, you can drop LED bulbs into factory housings if the base matches. H11 and H16 are common sizes for older 4Runners. The reflector bowl wasn’t shaped for an LED chip, though. You’ll get more light, but the beam pattern might have scattered hot spots compared to a dedicated LED assembly.
Why are my new fog lights flickering after installation?
Flickering happens because the truck’s computer expects a halogen bulb’s power draw. LEDs use much less power, so the system thinks the bulb is dead and pulses the circuit. Adding a CANbus decoder or resistor inline fixes this by faking the expected electrical load.
How long does it take to install LED pods on a 4Runner?
Expect 2 to 3 hours for a clean install with a relay harness. That assumes you’re using pre-made mounting brackets for your specific bumper. Fabricating custom mounts from scratch adds another hour or two of measuring, drilling, and test-fitting before you even touch the wiring.
Is it safe to wire fog lights directly to the battery?
It’s safe only if you use a relay and an inline fuse. Never run full power through a dashboard switch. The relay handles the heavy current directly from the battery, while the switch inside the cab only triggers the relay with a tiny signal. Skip the fuse, and a short circuit could start a fire.
What happens if I aim my fog lights too high?
Aiming them too high blinds oncoming traffic and defeats the purpose of a fog light. The beam will hit the moisture in the air and scatter back into your windshield instead of illuminating the road surface. Keep the top edge of the beam hitting the pavement roughly 25 feet ahead.
How many lumens do I actually need for off-road fog lights?
For dedicated fog use, 1,000 to 2,000 raw lumens per side is sufficient. Higher outputs create excessive glare in bad weather rather than improving visibility. Reserve 5,000-lumen lights for roof-mounted driving beams on clear nights, not for cutting through dense rain or dust near the ground.
Conclusion
Once you’ve picked your setup, grab a wiring harness that fits your specific model year. It’ll save you from splicing factory cables and keep everything running safely. Don’t wait for the first heavy storm to test them mount them this weekend and aim them low before your next drive.

I am Julian Drive, an automotive enthusiast and repair expert with over 7 years of hands-on experience in vehicle maintenance. At Carora Hub, I simplify complex car issues into easy-to-follow DIY guides to help drivers stay safe and save on repair costs.