
Is your Toyota Prius acting up or showing a check engine light? A faulty oxygen sensor might be the culprit.
Replacing it yourself can save you money and give your car the boost it needs. In this guide, you’ll learn clear, simple steps to replace your Prius’s oxygen sensor without hassle. Keep reading to get your car running smoothly again—and avoid costly trips to the mechanic.

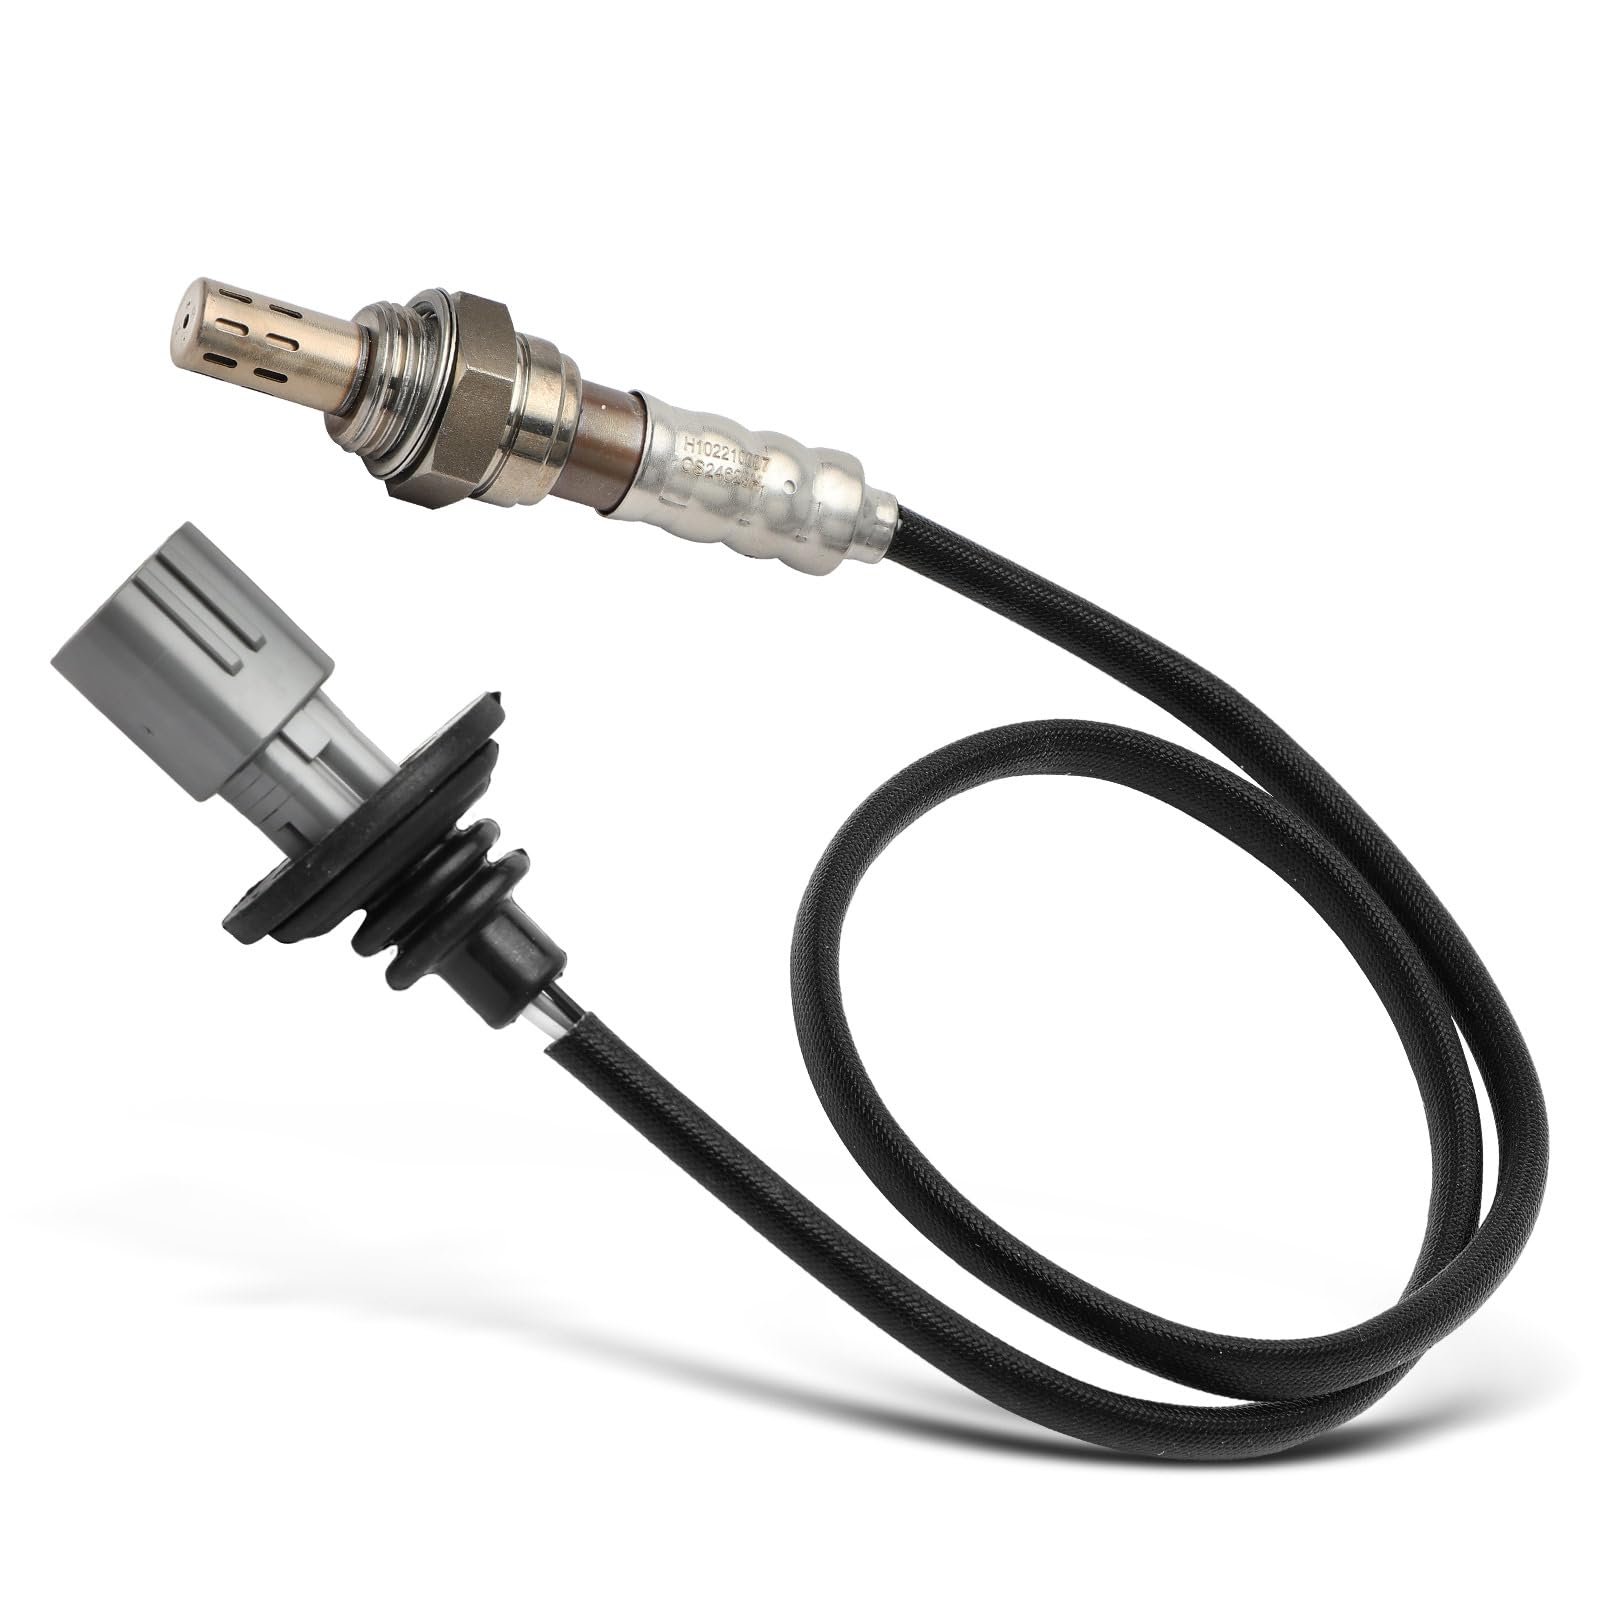
Credit: www.youtube.com
Signs Of A Faulty Oxygen Sensor
The oxygen sensor plays a key role in your Toyota Prius’s engine health. It helps control fuel and emissions. When the sensor goes bad, several signs appear. Recognizing these signs early can prevent bigger problems. Below are common symptoms of a faulty oxygen sensor.
Check Engine Light Activation
The check engine light often comes on first. This light signals trouble in the engine system. A bad oxygen sensor can trigger this warning. The car’s computer detects wrong data from the sensor. It then turns on the light to alert you.
Poor Fuel Efficiency
Your Prius may start using more fuel than usual. A faulty oxygen sensor sends incorrect air-fuel mixture data. This causes the engine to burn too much gas. You will notice more trips to the gas station. Fuel economy drops, costing more money over time.
Rough Engine Performance
The engine might run unevenly or jerk during driving. A bad oxygen sensor affects engine timing and fuel mix. This leads to rough idling or hesitation during acceleration. The car may stall or feel less powerful. Smooth engine performance is a sign of a healthy sensor.
Tools And Materials Needed
Replacing a faulty oxygen sensor in a Toyota Prius needs the right tools and materials. Having these items ready makes the job easier and safer. This section lists all you need to complete the task smoothly.
Oxygen Sensor Socket
An oxygen sensor socket fits perfectly around the sensor. It has a slot to hold the sensor wire. This tool helps to remove and install the sensor without damage. Using the correct socket prevents stripping the sensor.
Ratchet And Extensions
A ratchet is needed to turn the oxygen sensor socket. Extensions help reach sensors in tight spaces. These tools give better control and leverage. They reduce the effort needed to loosen or tighten the sensor.
Replacement Oxygen Sensor
Choose a replacement sensor made for your Prius model. Quality sensors ensure proper function and long life. Check the part number matches your car’s specifications. Using the right sensor helps maintain fuel efficiency and emissions.
Safety Gear
Wear gloves to protect your hands from dirt and heat. Safety glasses shield your eyes from debris. Work in a well-ventilated area to avoid fumes. Proper safety gear prevents injuries during the repair.
Locating The Oxygen Sensor
Finding the oxygen sensor in a Toyota Prius is the first step to fixing it. This sensor plays a key role in controlling the engine’s air-fuel mix. Knowing where to find it saves time and effort during replacement. The Prius has more than one sensor, so knowing each sensor’s location helps avoid mistakes.
Sensor Placement In Toyota Prius
The Toyota Prius usually has two oxygen sensors. One sensor sits before the catalytic converter, in the exhaust manifold. This sensor checks the oxygen level in exhaust gases. The second sensor is placed after the catalytic converter. It monitors how well the converter cleans the exhaust.
Identifying Front And Rear Sensors
The sensor before the catalytic converter is called the front or upstream sensor. It helps the engine adjust the fuel mix for better efficiency. The sensor after the converter is the rear or downstream sensor. It ensures the converter works properly by measuring emissions.
Both sensors look similar but connect to different wires. Knowing which one is faulty requires checking error codes or visual inspection. Correct sensor identification is vital for a successful replacement.
Credit: www.amazon.com
Preparing Your Vehicle
Preparing your Toyota Prius for oxygen sensor replacement is important for safety and success. Taking the right steps before you start helps avoid accidents and damage. Follow these simple tasks to get your vehicle ready.
Ensuring The Engine Is Cool
Wait for the engine to cool down before working on it. A hot engine can burn your skin or damage parts. Let the car sit for at least 30 minutes after driving. Check that the engine feels cool to the touch. This step protects you and your vehicle.
Disconnecting The Battery
Disconnect the negative terminal of the battery. This stops any electrical current from running. It prevents short circuits and accidental shocks. Use a wrench to loosen the bolt on the terminal. Remove the cable and place it away from the battery.
Raising The Vehicle Safely
Raise your Prius with a jack to access the oxygen sensor. Park on a flat surface and engage the parking brake. Place wheel chocks behind the tires for extra safety. Use a jack to lift the car and then set jack stands under it. Never work under a car supported only by a jack.
Removing The Faulty Sensor
Removing the faulty oxygen sensor in a Toyota Prius is a key step in the replacement process. This task needs care to avoid damage to the sensor or the car’s exhaust system. Follow each step carefully to ensure a smooth removal.
Unplugging The Sensor Connector
Locate the oxygen sensor connector under the hood. It usually looks like a small plastic plug with wires attached. Press the clip or tab on the connector to release it. Gently pull the connector apart. Do not pull on the wires. This prevents any damage to the electrical connection.
Using The Oxygen Sensor Socket
Use a special oxygen sensor socket for removal. This socket fits around the sensor and allows you to turn it easily. Attach the socket to a ratchet or breaker bar. Turn counterclockwise to loosen the sensor. It may take some force, but avoid sudden or sharp movements.
Handling Stubborn Sensors
Sometimes, the sensor is stuck due to heat and corrosion. Spray a penetrating oil on the sensor base. Let it sit for 10-15 minutes. Try turning the sensor again with the socket. Use steady pressure. Avoid forcing it too hard to prevent breaking the sensor.
Installing The New Oxygen Sensor
Installing the new oxygen sensor in your Toyota Prius is a key step to restore proper engine performance. This process requires careful handling to avoid damage. Follow simple steps to ensure the sensor fits and works perfectly.
Applying Anti-seize Compound
Apply a small amount of anti-seize compound on the sensor’s threads. This helps prevent rust and makes future removal easier. Avoid getting the compound on the sensor tip. Use a clean finger or a small brush for precise application.
Threading The Sensor Correctly
Carefully thread the new sensor into the exhaust pipe. Turn it by hand first to avoid cross-threading. Tighten the sensor snugly using a wrench. Do not over-tighten, as this can damage the threads or sensor.
Reconnecting The Sensor Connector
Plug the sensor’s electrical connector back into the wiring harness. Ensure the connection is secure and clicks into place. A loose connection can cause sensor errors and engine warning lights.
Testing After Replacement
Testing after replacing the oxygen sensor in your Toyota Prius is important. It ensures the new part works well. Proper testing helps avoid future problems and keeps the car running smoothly.
Reconnecting The Battery
First, reconnect the car battery. This restores power to the vehicle’s systems. Make sure the battery terminals are tight. A loose connection can cause errors or prevent the car from starting.
Starting The Engine
Next, start the engine. Listen for any unusual sounds. Watch the dashboard for warning lights. The engine should run smoothly without hesitation or rough idling. This shows the sensor is working correctly.
Resetting The Check Engine Light
The check engine light may stay on after replacement. Use an OBD-II scanner to clear the error codes. This resets the car’s computer system. If the light returns, there might be another issue to check.
Preventive Maintenance Tips
Keeping your Toyota Prius running smoothly means taking care of its oxygen sensor. Preventive maintenance helps avoid sensor failure. Small efforts now save you from costly repairs later. Follow these simple tips to extend the sensor’s life and improve your car’s performance.
Regular Sensor Inspections
Check the oxygen sensor regularly for dirt and damage. A quick visual inspection helps spot problems early. Look for signs of wear or corrosion on the sensor. Clean the area around the sensor to keep it free from dirt. Early detection stops sensor issues from growing worse.
Using Quality Fuel
Use high-quality fuel designed for hybrids like the Prius. Cheap fuel may contain impurities that harm the sensor. Clean fuel burns better and keeps the sensor working properly. Avoid fuels with high sulfur content to protect the sensor. Good fuel keeps emissions low and engine running well.
Timely Engine Tune-ups
Have your Prius engine tuned on schedule. A well-tuned engine reduces stress on the oxygen sensor. Replace spark plugs and air filters as recommended. Proper engine function lowers harmful deposits on the sensor. Regular tune-ups improve fuel efficiency and sensor lifespan.

Credit: www.amazon.nl
Frequently Asked Questions
How Do I Know If My Prius Oxygen Sensor Is Faulty?
A faulty oxygen sensor causes poor fuel economy, rough idling, or a check engine light. A diagnostic scan can confirm the issue quickly.
What Tools Are Needed To Replace A Prius Oxygen Sensor?
You need an oxygen sensor socket, ratchet wrench, jack stands, and safety gloves for a safe and effective replacement.
Can I Replace The Oxygen Sensor Myself On A Toyota Prius?
Yes, if you have basic mechanical skills and tools. Follow safety procedures and your vehicle’s repair manual closely.
How Long Does It Take To Replace An Oxygen Sensor?
Typically, it takes 30 to 60 minutes depending on your experience and access to the sensor location.
Bottom Line
Replacing a faulty oxygen sensor in your Toyota Prius helps improve fuel efficiency. It also reduces harmful emissions and keeps your engine running smoothly. Following the right steps makes the job easier and safer. Regular checks prevent bigger car problems later.
Take your time, use the correct tools, and stay safe. Your Prius will thank you with better performance and cleaner running. Simple maintenance like this keeps your car reliable for years.

Hello, I’m Norman. I work as a car researcher. I am the voice behind CaroraHub. I have over 15 years of experience. I give simple and useful car advice. I help with car care, cleaning, and small repairs. My goal is to help you keep your car healthy. I want car care to be easy and cheap for you. You can trust my tips to keep your car working well for a long time.