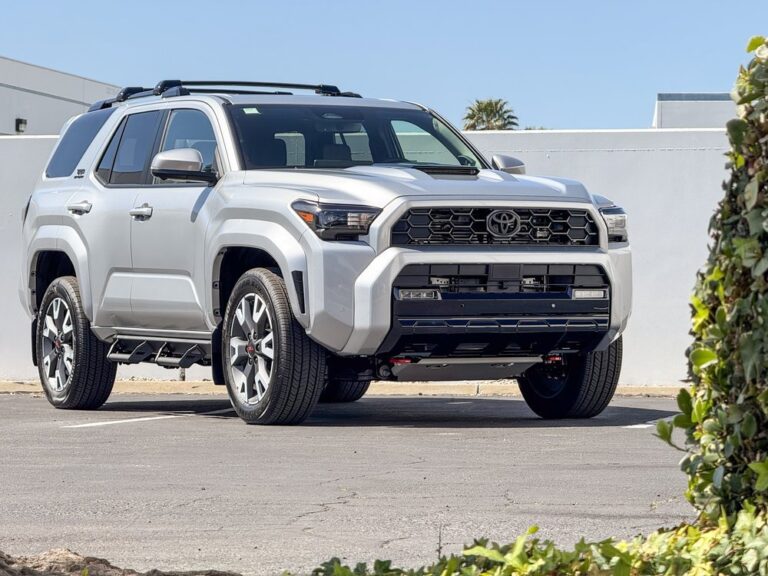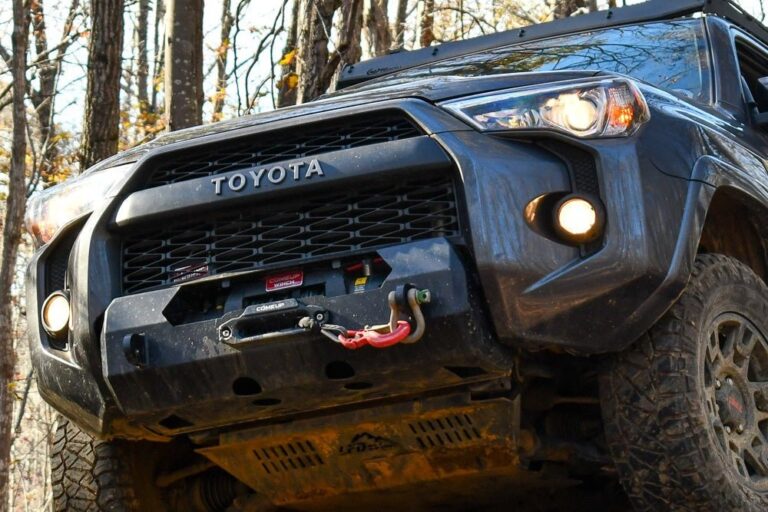
You can replace a seized brake caliper on Toyota 4Runner by removing the wheel, unbolting the old unit, and fitting a new one in about two hours per side. The most common cause is moisture getting past torn rubber boots and rusting the piston inside its bore. If your truck pulls hard to one side or you smell burning after driving, park it and don’t drive further until the bad part comes off.
Why a 4Runner brake caliper seizes up
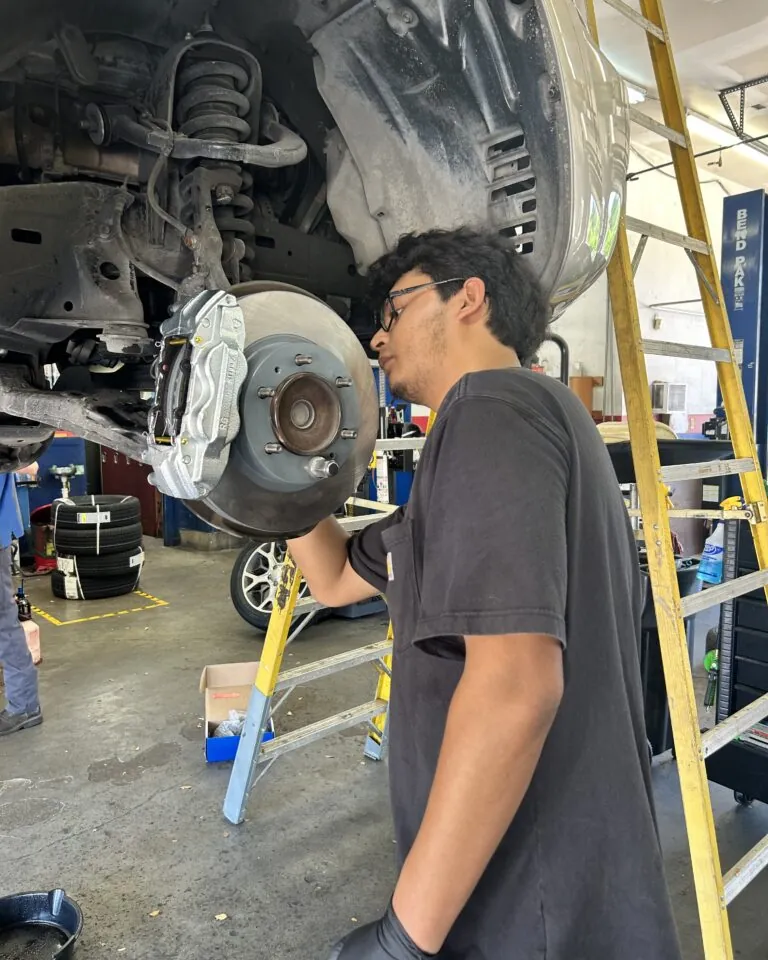
A stuck caliper usually starts with a torn dust boot. That thin rubber ring keeps water and road dirt out of the piston bore. When it rips, moisture reaches bare steel and rust forms fast. The piston can’t slide back when you let off the pedal, so the pads drag against the rotor constantly.
If the truck sits parked outside for weeks without moving, that rust bonds the parts together. You’ll notice this more often on older models driven in wet climates or on salted winter roads.
The second cause lives on the metal bracket holding the pads. Two small pins let the whole assembly float side to side. Their grease dries out over time, or road grime packs in around them. When they stop sliding, the inner pad presses harder than the outer one, and heat builds up quickly.
A third issue happens inside the rubber brake hose. The inner lining collapses like a one-way valve. Fluid pushes through under pressure but won’t flow back when you release the pedal. The caliper stays clamped down even though the hardware itself moves freely.
Heat from dragging brakes cooks the fluid and glazes the pads. That damage spreads to the rotor next. You can check the official Toyota maintenance schedule to see when the maker expects these parts inspected. Catching a torn boot early saves the rest of the system.
Remove the old 4Runner caliper safely
This job fits anyone comfortable using basic hand tools under a vehicle. You’ll need a floor jack, two jack stands rated for your truck’s weight, a lug wrench, a 14mm socket, a 17mm socket, and a line wrench for the brake fitting.
Park the 4Runner on flat concrete. Break the lug nuts loose before lifting the wheel off the ground. Place the jack stands under the frame rails, never under suspension arms that move.
Remove the wheel completely. Unbolt the caliper from its bracket using the 14mm socket. Slide it off the rotor and hang the caliper out of the way with a piece of wire so it doesn’t stretch the rubber hose. Next, locate the brake line fitting where the metal tube meets the caliper body. Use the line wrench to crack it loose. Have a small catch pan underneath because fluid will drip out immediately.
Plug the open line with a rubber cap to stop the reservoir from draining dry. If you’re replacing the bracket as well, find the two bolts on the back of the caliper bracket holding it to the steering knuckle and unbolt them. Inspect the mounting bracket for deep rust grooves where the pads sit. If the grooves are scored badly, you’ll need a new bracket too.
You’ll know the removal went right when the rotor spins freely by hand with nothing touching it. If working on brake lines feels unsafe or you lack proper jack stands, take the truck to a certified mechanic instead.
Install the replacement caliper and bleed air
Mounting the new part reverses the removal steps, but clean surfaces matter just as much as tight bolts. This method works for both factory units and quality aftermarket replacements designed for the 4Runner.
Start by cleaning the mounting bracket with a wire brush. Clear every bit of rust from the pad contact points so the new hardware slides without binding. Apply a thin layer of silicone brake lubricant to those spots and to the guide pins. Don’t use regular chassis grease here; it swells the rubber bushings.
Slide the new caliper onto the bracket. Thread the mounting bolts by hand first to avoid cross-threading the knuckle. Tighten them to the spec printed in your owner’s manual or stamped on the replacement box.
Reconnect the brake line using new crush washers on both sides of the fitting. Old washers leak because they’ve already crushed to fit the previous surface. Snug the fitting firmly with your line wrench.
Now you must bleed the air out. Attach a clear vinyl tube to the bleeder screw and run the other end into a bottle half-filled with the brake fluid specified in your owner’s manual. Have someone press the pedal slowly while you crack the screw open. Watch for bubbles in the tube. Close the screw before they release the pedal.
Repeat until only clear fluid flows with zero bubbles. Top off the master reservoir after finishing. The pedal should feel firm, not spongy. Pump it five times before starting the engine.
Rebuild the caliper if the bore isn’t pitted
Replacing the entire unit costs more money but takes less time. Rebuilding uses a seal kit that runs far cheaper, yet demands patience and specific tools. It’s worth the extra effort only when the cylinder wall inside the bore is still smooth.
If you can feel deep scratches or dark rust pits inside the hole where the piston slides, throw the core away and buy a loaded assembly instead. A rebuilt caliper with a damaged bore will leak fluid within a few hundred miles.
To rebuild, clamp the old unit in a vise. Push compressed air into the fluid port to pop the piston out. Never put your fingers in front of it during this step, as the piston shoots out with enough force to break bone.
Peel the old square-cut rubber seal from its groove using a plastic pick. Metal tools score the bore and cause leaks later. Clean everything with fresh brake fluid, never mineral spirits or carburetor cleaner, because petroleum products destroy the new rubber instantly.
Lubricate the new seal with brake fluid and press it evenly into the groove. Coat the piston and push it straight down into the bore by hand. Replace the dust boot last.
This path requires an air compressor and a bench vise. Without those tools, skip the rebuild and install the complete replacement from the previous section.
Bad advice that ruins 4Runner brakes faster
People share tips online that sound helpful but actually cause expensive damage to your truck’s braking system. Following the wrong guidance turns a simple repair into a dangerous failure.
- Spraying WD-40 on sticky guide pins. Petroleum solvents eat the rubber bushings that hold those pins. Within a month, the pin rattles inside a swollen hole and the caliper binds worse than before. Use only silicone-based brake lubricant made for this exact purpose.
- Forcing a rusty piston back in with C-clamps. Pushing a corroded piston tears the internal square-cut seal. Fluid bypasses the seal under pressure, and the pedal drops to the floor while you’re driving. If it won’t slide easily by hand, the unit needs replacement.
- Reusing old copper crush washers on the banjo bolt. Those washers seal by deforming once. Flipping them over or reusing them leaves microscopic gaps. Brake fluid weeps out slowly until the reservoir empties and air enters the lines. Always install fresh washers.
- Bleeding only the corner you just worked on. Air travels through the shared plumbing. Opening one line lets the master cylinder level drop, pulling air into circuits that feed the other three wheels. Bleed all four corners, starting furthest from the master cylinder.
- Skipping the test drive before hitting highway speeds. Dragging pads generate extreme heat. Drive at low speed in an empty lot, stopping gently ten times. Feel the wheel center afterward. If it’s too hot to touch, something is still binding.
Keeping the new caliper from seizing again
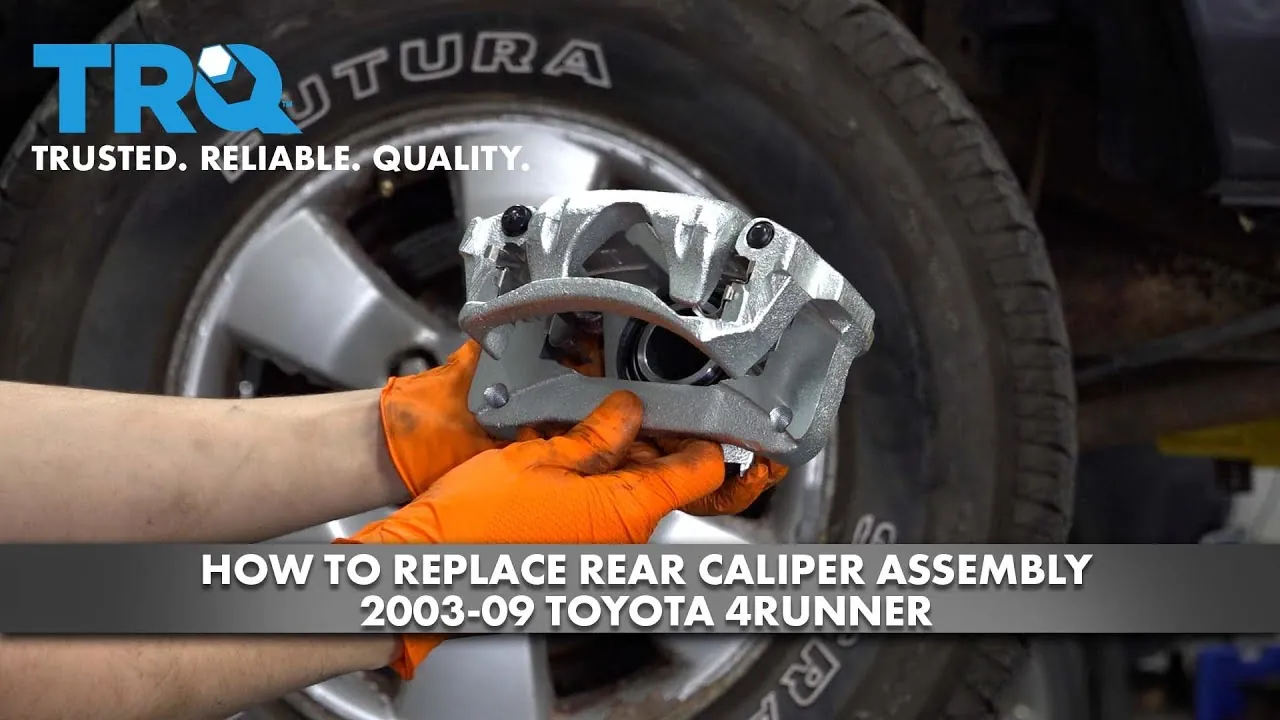
Preventing another failure means changing how you maintain the system between major repairs. Small habits keep the pistons moving freely and the seals intact for years.
| If you’re doing this | Do this instead | Why |
|---|---|---|
| Ignoring the brake fluid color | Flush the system every 3 years | Old fluid absorbs water, which rusts the piston bore from the inside out |
| Parking outside for months | Move the truck forward and back weekly | Sitting still lets rust bond the pads to the rotor and freeze the pins |
| Using anti-seize on guide pins | Apply silicone brake lubricant | Anti-seize contains metals that harden under heat and lock the sliding pins |
| Washing wheels with acid cleaners | Rinse calipers with plain water | Acid strips the protective coating off the casting and accelerates corrosion |
| Buying the cheapest unbranded part | Match the OEM casting weight | Thin castings flex under pressure, causing uneven pad wear and premature seizure |
Check the rubber dust boots every time you rotate your tires. A torn boot caught early means wiping out dirt and repacking grease. A torn boot ignored for six months means buying another caliper. Keep the master cylinder reservoir topped up so air never gets pulled down into the lines during normal pad wear.
FAQs Of Replace a Seized Brake Caliper on Toyota 4Runner
Can I drive my 4Runner with a seized caliper?
No, you shouldn’t drive it beyond moving it slowly into your garage. A locked caliper generates enough friction to boil the brake fluid in that circuit. Once the fluid boils, the pedal goes soft and you lose stopping power. The extreme heat also cracks the rotor and can ignite brake dust. Tow it if the wheel won’t spin freely by hand.
How long does replacing a 4Runner caliper take?
Expect about 2 hours per wheel for someone with standard hand tools and a safe lifting setup. That includes jacking up the truck, removing the old unit, bolting on the new one, and bleeding the air out. If the brake line fitting is heavily rusted, add another 30 minutes to free it without snapping the tube.
Why does my 4Runner pull to one side when braking?
A pull usually means the caliper on the opposite side isn’t applying full pressure, or the side you’re pulling toward is stuck closed. Check the sliding pins on both front wheels first. If they move freely, have someone press the brake pedal while you watch the pistons. The side that doesn’t retract fully holds the faulty part.
Is it safe to replace just one caliper?
Yes, replacing only the broken side is perfectly safe and standard practice. Calipers aren’t sold in matched pairs like shock absorbers. However, inspect the opposite side closely while you’re under the truck. If the guide pins on the good side are stiff or the dust boot is cracked, fix it now before it fails on the highway.
What happens if I don’t bleed the brakes after installing?
Air compresses under pressure, unlike liquid. If you leave air in the line, the pedal will feel spongy and travel much closer to the floorboard before the pads grip the rotor. In a panic stop, you won’t generate enough hydraulic force to halt the heavy 4Runner safely. Always bleed until only clear fluid exits the tube.
How much does a replacement caliper cost for a 4Runner?
Prices change based on your model year, whether you buy loaded assemblies with pads included, and your region. An unloaded aftermarket casting costs less than a factory part with brackets attached. Check current pricing at auto parts stores near you or look up your specific VIN on the manufacturer’s catalog to find the exact figure for your truck.
Do I need special tools to bleed the 4Runner brakes?
You don’t need expensive electronic scanners for a standard gravity or manual bleed. A clear vinyl tube that fits snugly over the bleeder nipple, a clean plastic bottle, and a box-end wrench are enough. If your truck has an advanced stability control pump,
Conclusion
Brakes handle the entire weight of your truck every time you slow down. Taking shortcuts on hardware or skipping the bleeding process puts that weight behind a failing system. Do the work cleanly, use the right lubricant, and test everything at low speed before trusting it on the road.

I am Julian Drive, an automotive enthusiast and repair expert with over 7 years of hands-on experience in vehicle maintenance. At Carora Hub, I simplify complex car issues into easy-to-follow DIY guides to help drivers stay safe and save on repair costs.